Procedural Animation, My Flapping Wing Test
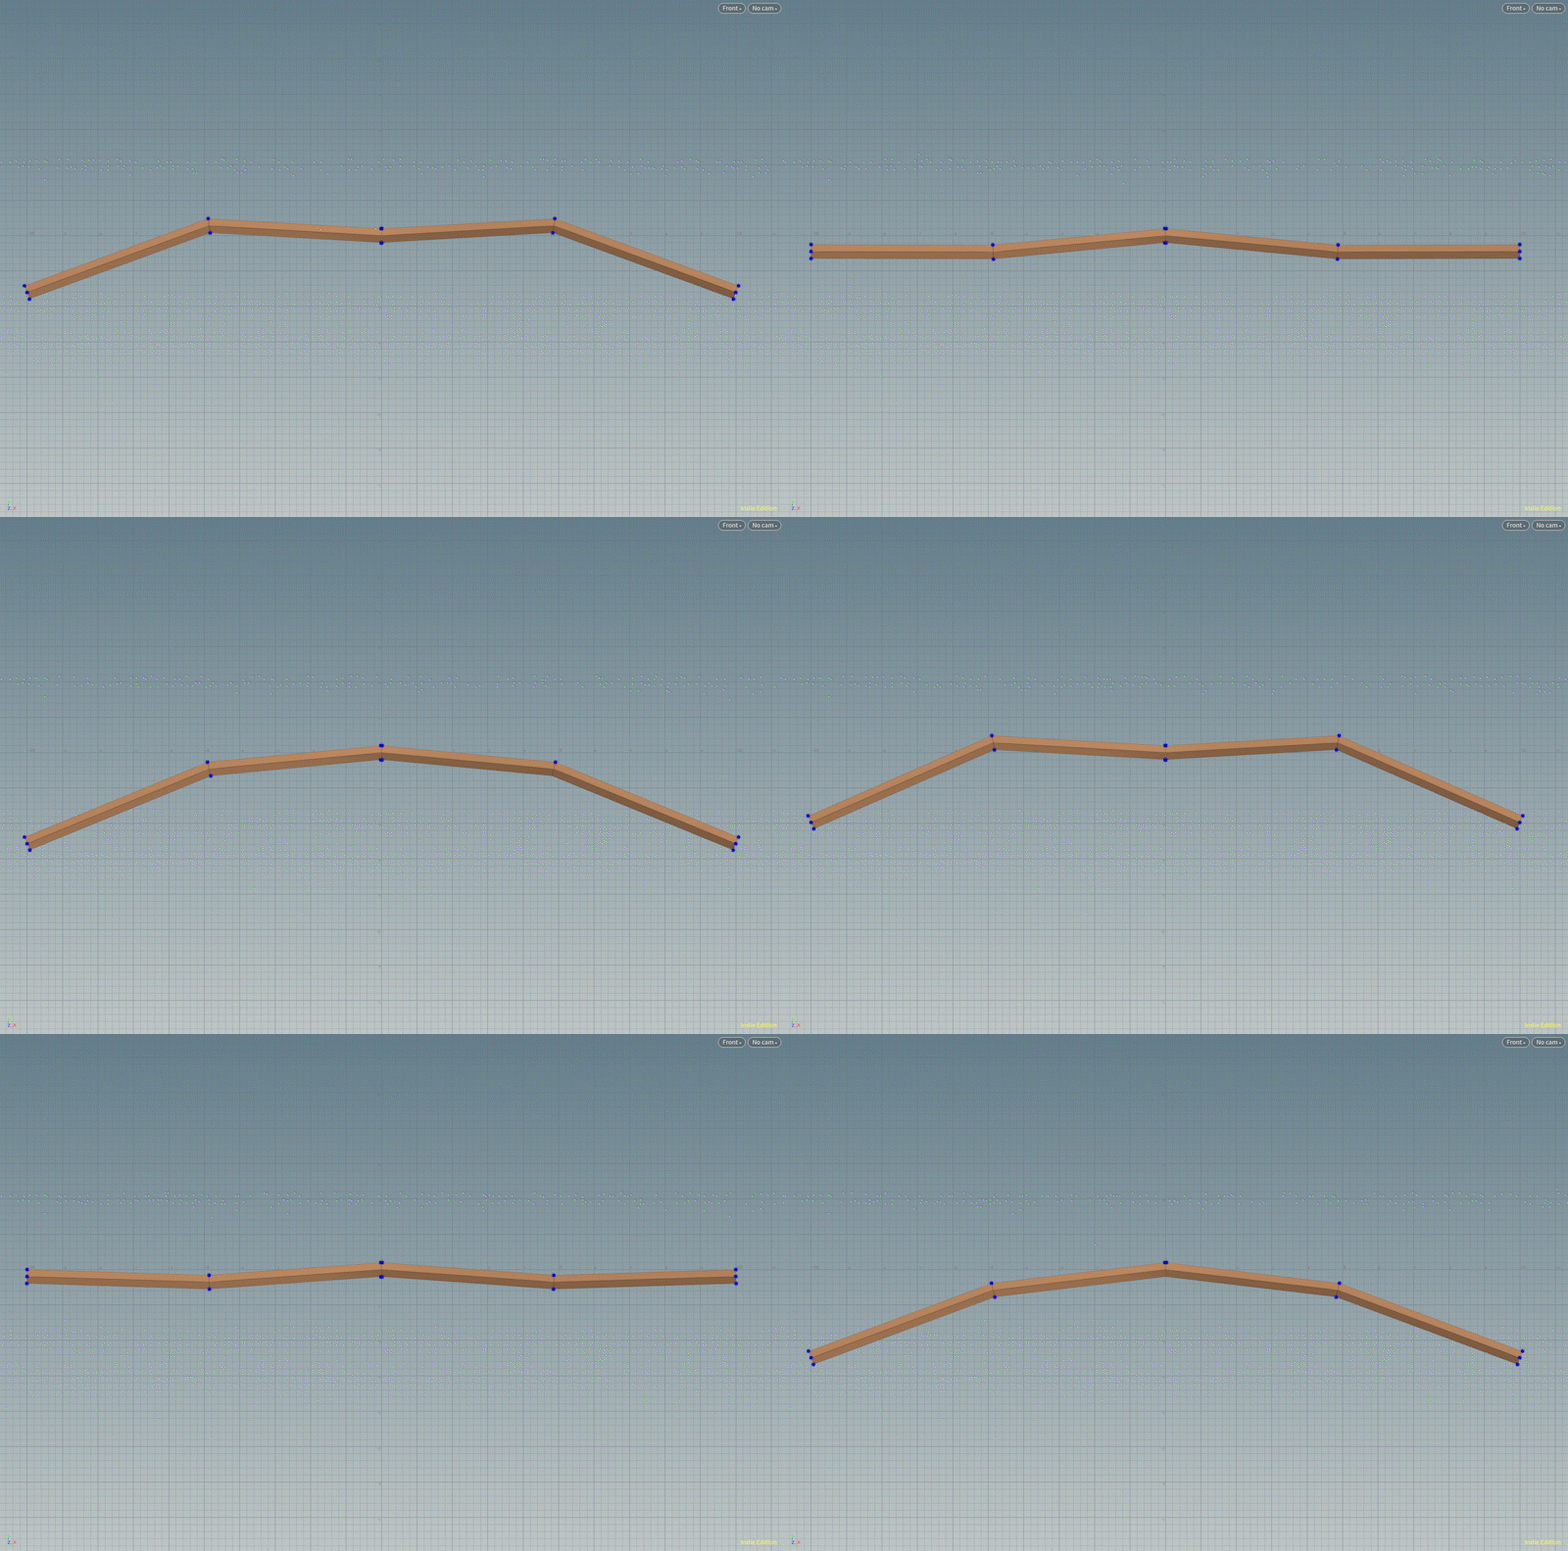
Bird flapping wing motion generated by transforming the points using some trigonometry math
I some how came up with the idea of procedurally generating animations with mesh geometry and I started my proof of concept with flapping wings.
sine wave animating motion path of the torus
The Math
If you understand the basics of sine waves and cosine waves or if you read my previous post which describes in detail how the sine wave function can be modified to create simple animated motion. The concept for this flapping wings is very smiliar, except the points on the wings are moving in an arc-like motion. A circular motion, which is what gave me the idea to use the sine wave and cosine waves together to create the arc motions.
Points are actually moving in a small circular arc path to create a flapping bird motion for the geometry.
Concept
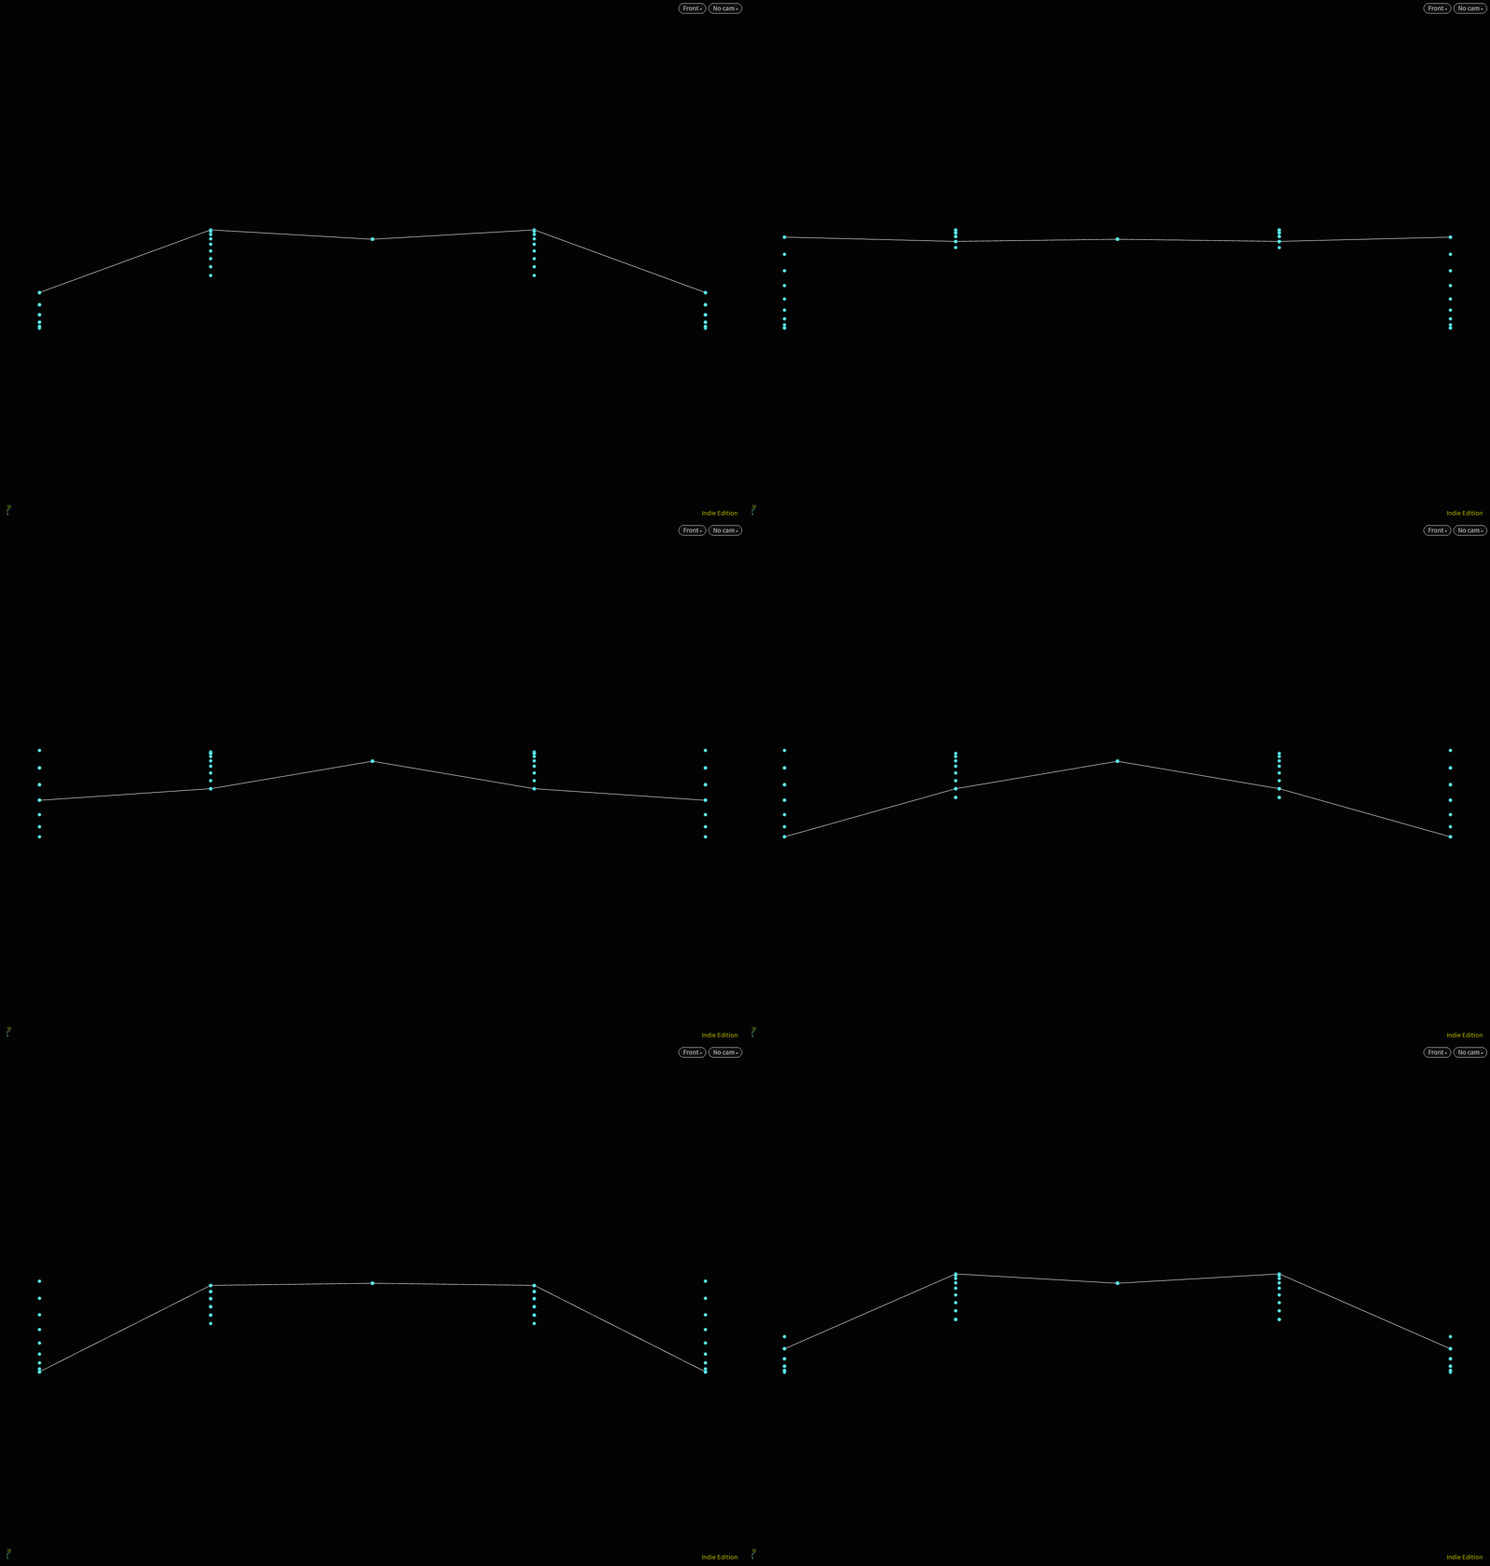
By displacing the points of the mesh I’m able to create the flapping wings animation with some trigonometry formulas. It was a lot easier to control the flapping wings then it is to key mesh or shape blend it, because the wing geometry only has 3 points on a line to begin with. This line geometry is then later fed into a polywire node to create the wing geometry.
You might not be able to see the arc motions and it may appear to be moving in a straight line which was my first attempt at doing this flapping motion, but that resulted in a non-realistic motion. After doing more research on flapping wings and how they move, I simplified the wings into two lines. This gave me the simplicity I needed to concentrate on modifying the trigonometry formulas.
The points are actually moving in a small arc-like path, but the arc is moving at a very large angle, giving it a settle circular motion, but it’s there. The points are offset in terms of speed and amplitude to stay synchronized for the flapping.
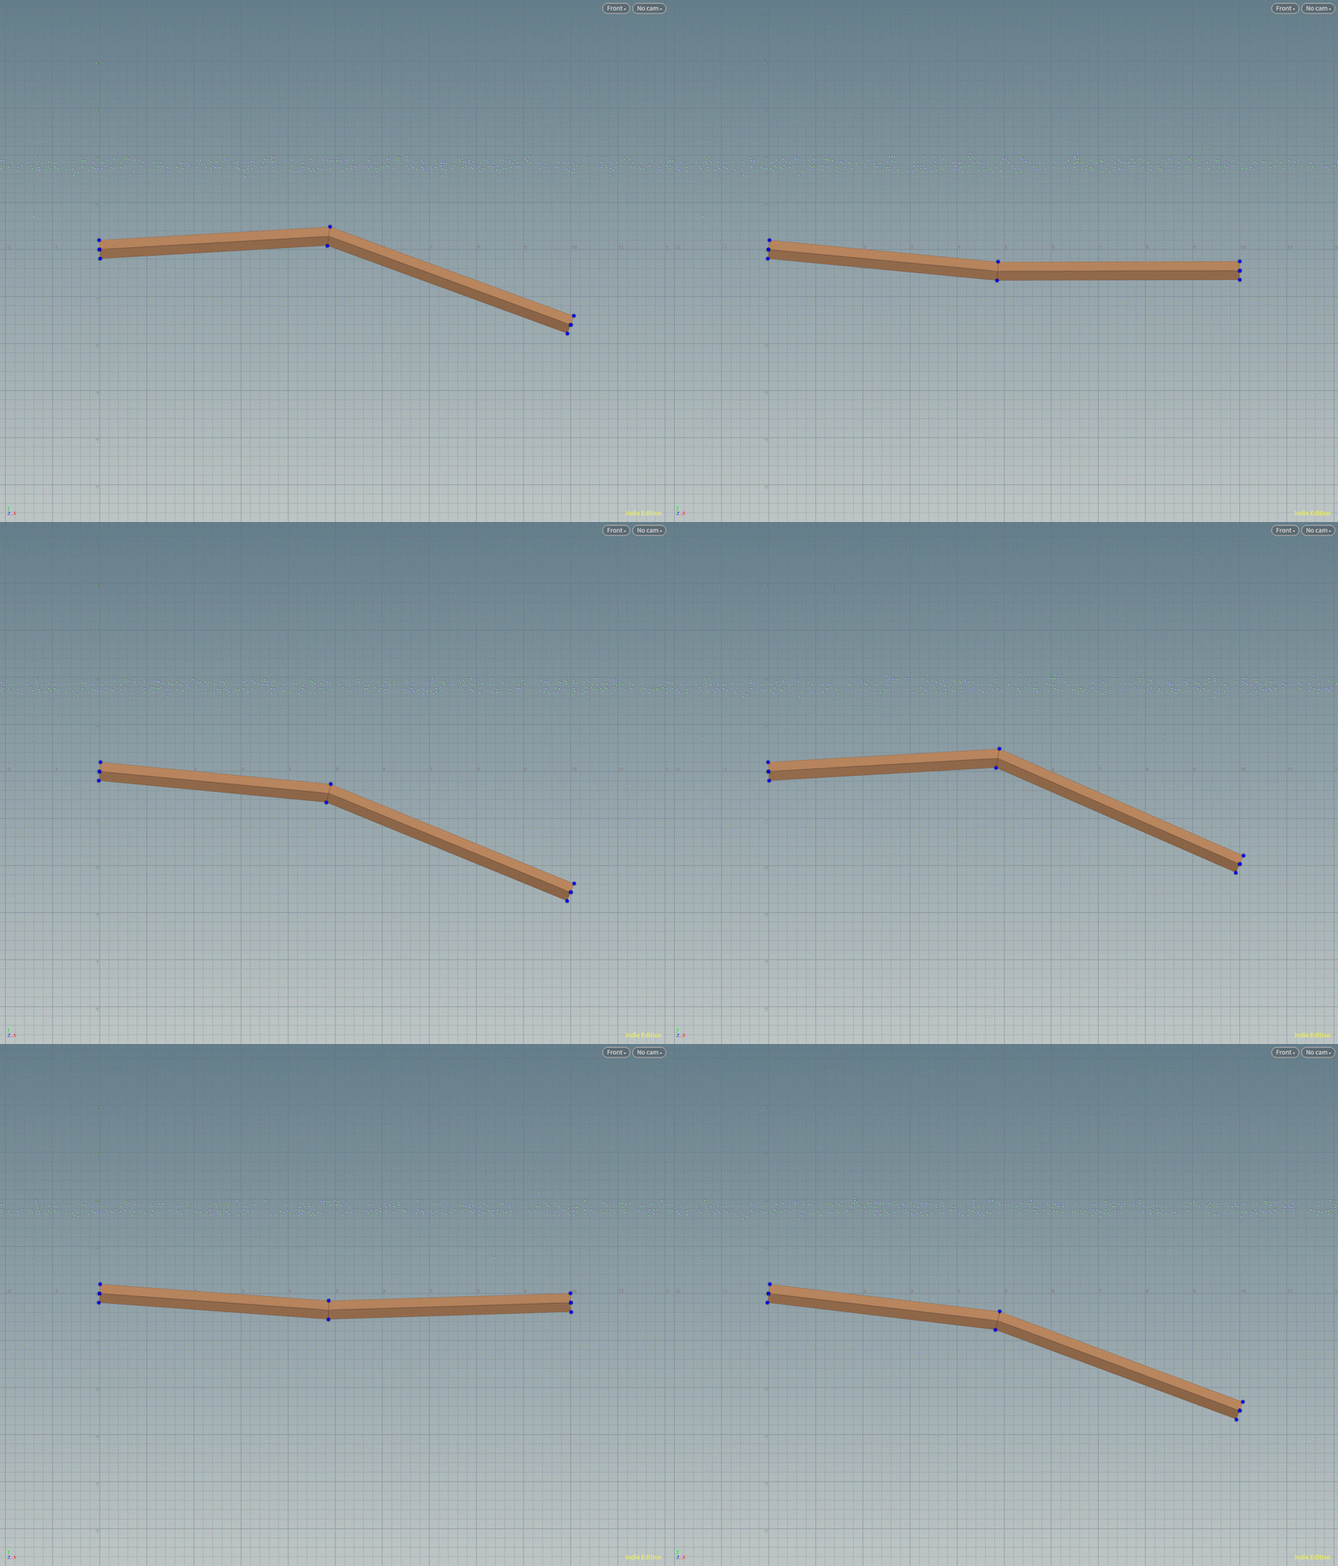
Polywire is applied to the line to generate thickness for the flapping wings
Procedural Animation
My first prototype test is the wings of a bird. I used a very low poly wireframe to represent the wings. Then I used a lot of trigonometry to define the motions of the points. And the results are quite pleasing!
Procedural
However, this is far from procedural. Because this only works with the wings and it’s low poly. I still got a long way to go, but I think this is a good start for proof of concept!
It started with one side and then later on I applied a mirror node to get both wings flapping symmetrically
I first started with just one side and used some Houdini expressions to script some trigonometry into the points to move in a small arc like motion. Getting the arc to move in small circular motion was very difficult to configure. After many attempts of trial and error adding more variables to the trigonometry formulas, I finally got the motion I wanted.
I think this method may only work with wings. I’ll probably need to find another way to do procedural animations for other things.
Oliver, the Teddy Bear is animated using Blender’s Pose Brush & Sculpting Tools (purely based on Shape Keys, no rig setup)
Inspiration
As of late, I’ve been obsessed with toon filters, inspired by zbrush’s NPR Filters and Blender 2.83’s new Pose Brush! Sculpted animation or also known as key meshing in Blender. Apparently key meshing or sculpted animation isn’t new. It’s existed for awhile. I just didn’t know about it.
Sculpted Animation without Rigging
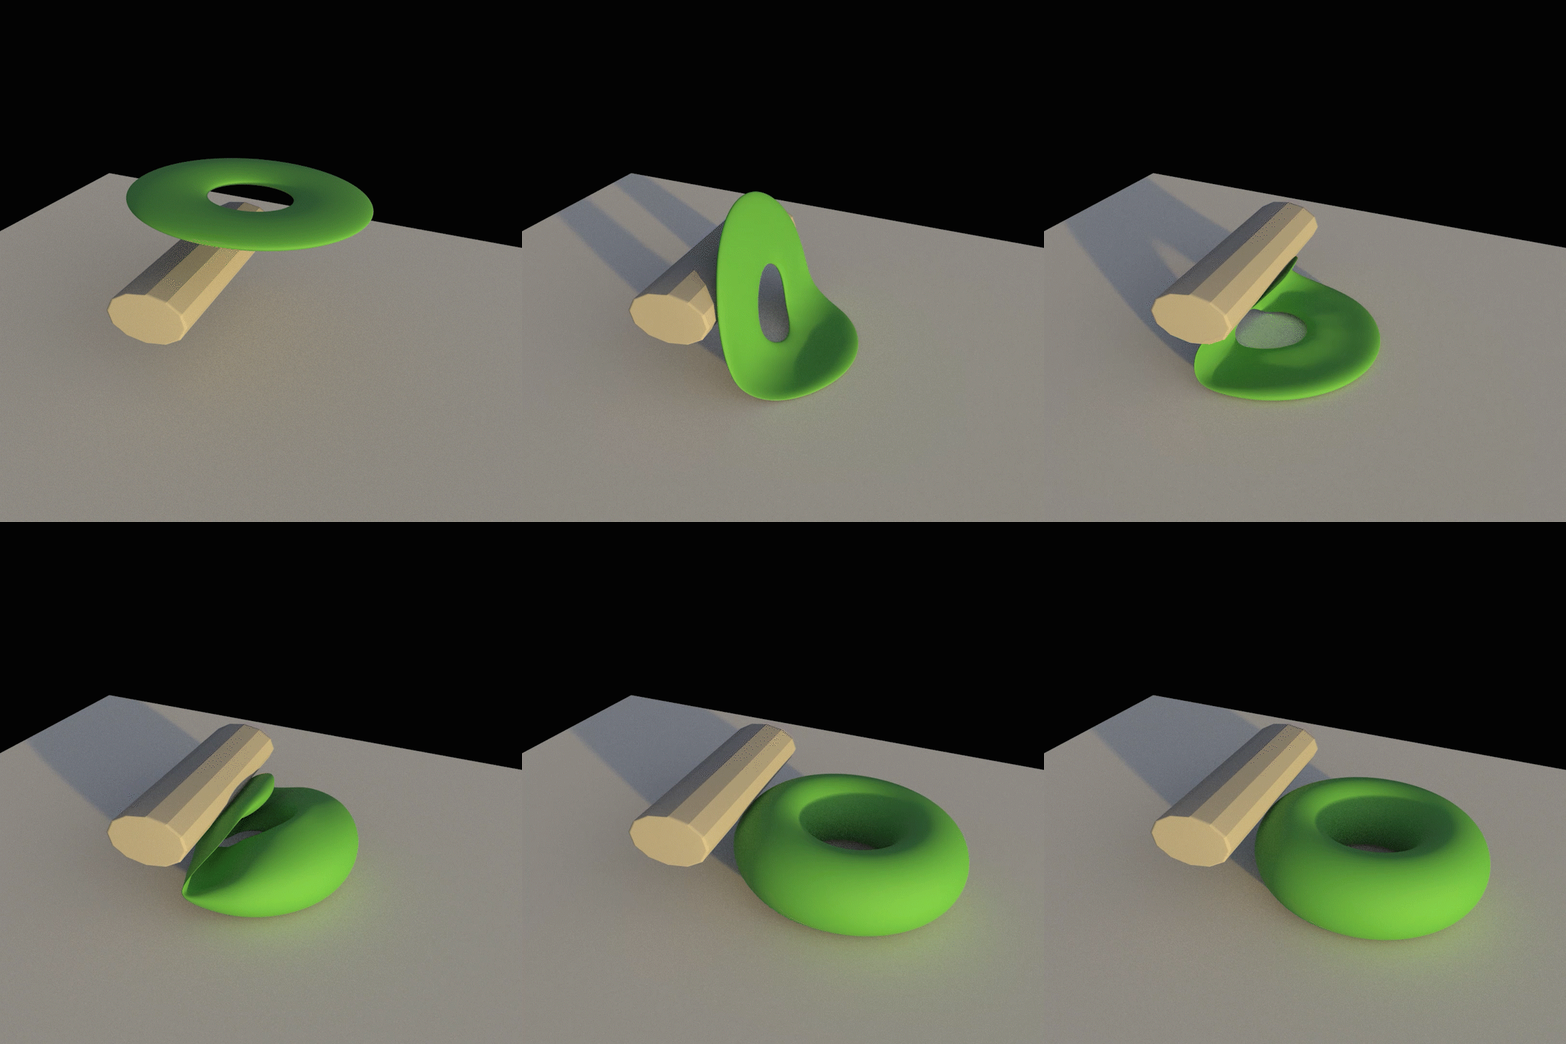
Houdini’s Shape Blending node is used to inflate the green torus
What is sculpted animation?
It’s basically shape blending every frame. If you have a character or object that has a fixed number of points throughout the entire animation, you can transform or displace the points with certain sculpt brushes that will allow you to push and pull the points around the surface of the object. This allows us to create animations without setting up a rig. What the keyframes will store is the positions of the points of the object, also known as shape blending.
Shape blending isn’t new, it’s been around for a long time and I’ve known about it too. In Blender it’s called Shape Keys. And in Houdini there’s a node called Shape Blend, that will allow you to blend between two objects with the same number of points.


