Learning Process on the Making of Alien Plateau Terrain
This post is inspired by Andrey Lebrov’s Spring CG Channel that was announced on his Youtube channel. I had always wanted to learn Substance Painter to enhance my Houdini Heightfield terrains. And also solve my UV issues with Heightfields in Houdini.
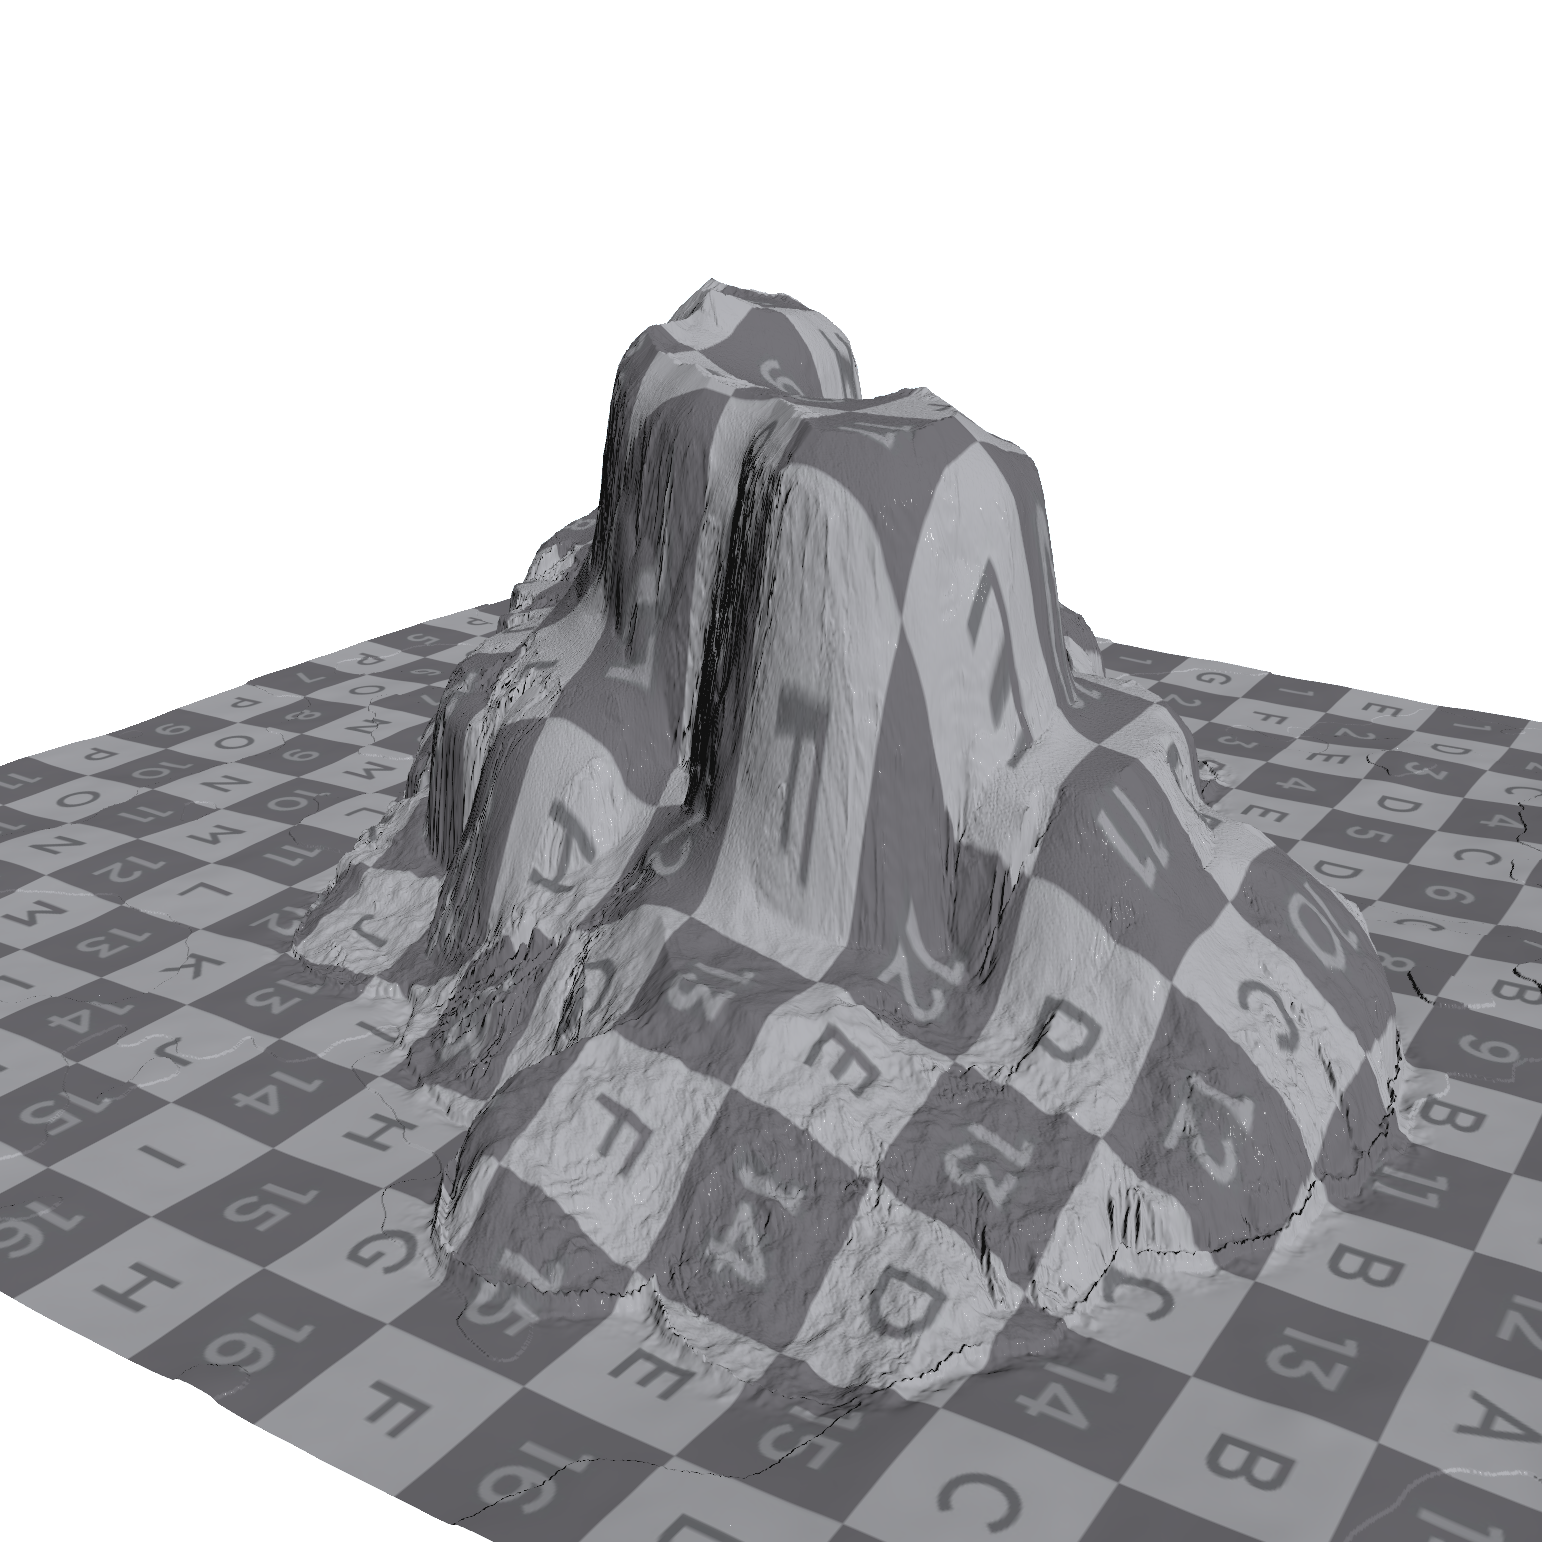
Final Result of Alien Plateau (Heightfield Terrain made in Houdini & Textured in Substance Painter)
UV Stretching
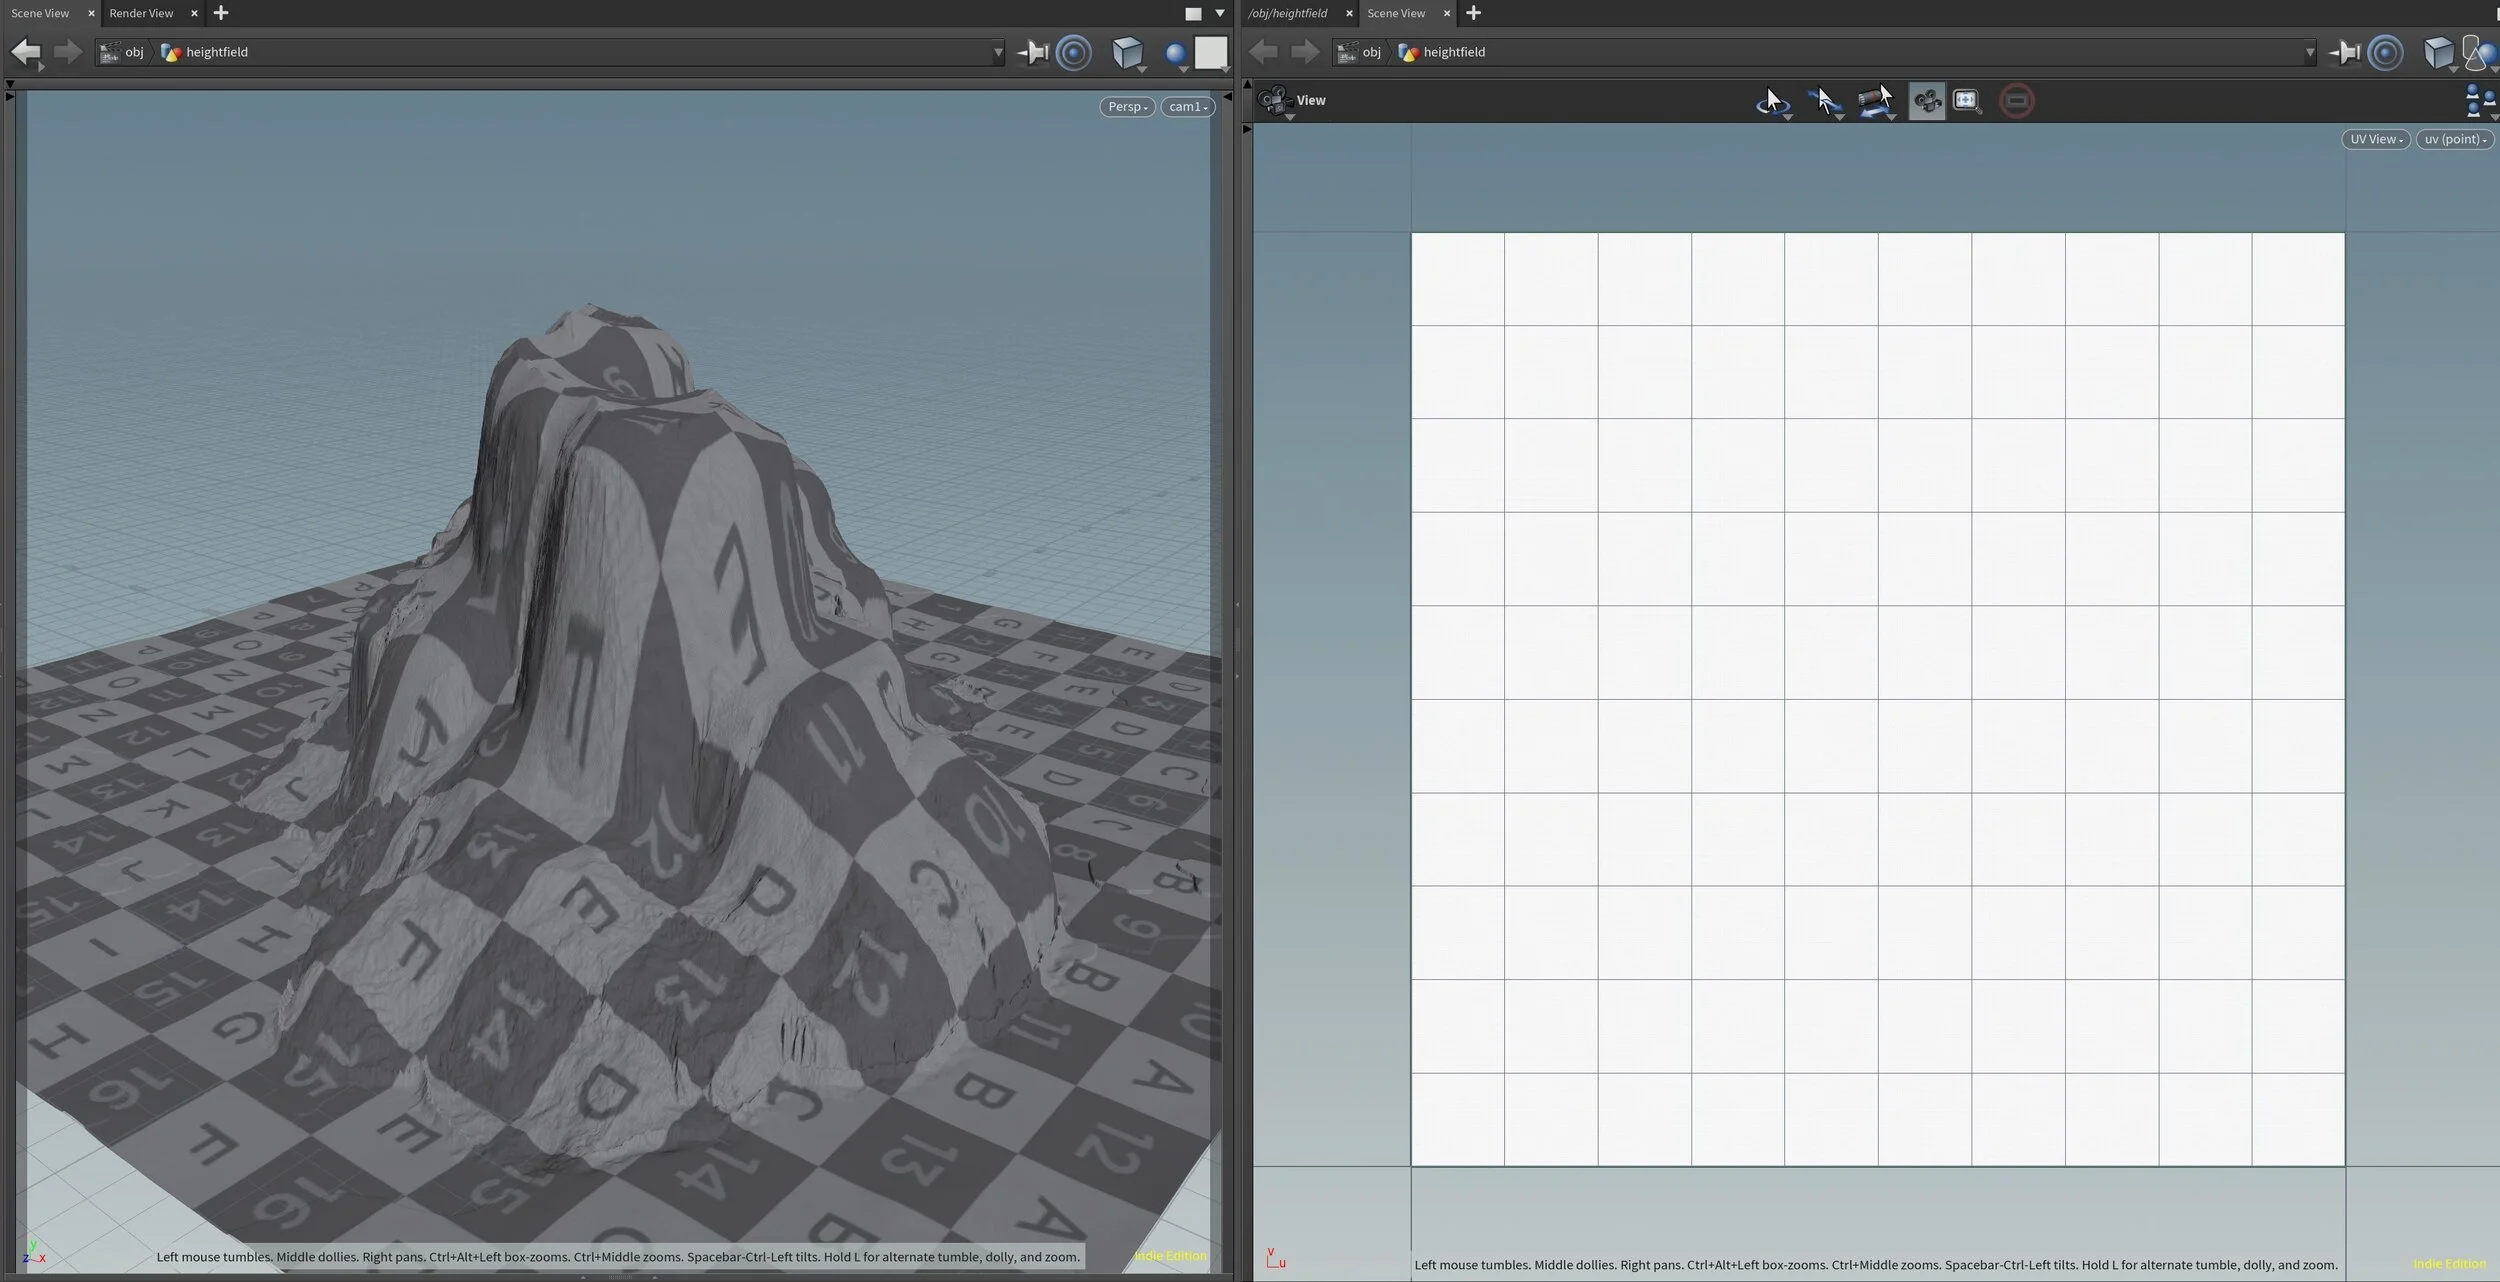
When unwrapping Heightfields in Houdini using the UV unwrap node, I would get extreme UV stretching on the mountain sides and lose a lot of detail. While I worked on this project I learned that this was due to Texel density.
Ambition
Turn around of Alien Plateau made in Houdini & Substance Painter
I also wanted create textures that I would fully own and be able to distribute them freely without worrying about royalty or licensing issues. I never really fully understood the licenses stuff and legal stuff. All I know is that, everything you produce in Substance Painter and Substance Designer is stuff you fully own and can be rightfully distributed.
Inspiration
Basic Primitive Shapes projected onto Heightfield in Houdini
Anyways, the main inspiration for the terrain shape came from a documentary I was watching somewhere online. A group of people were climbing the Mount Asgard Baffin Island. The Baffin Island is located in Nunavut, Canada. The Baffin Island has these sharp pointy mountain tops that slants on an angle and appears in clusters, which looked like the markers in my pencil holder pointing up.
I used the shape of the mountain as my inspiration for the shape of my terrain, but the material shading was more inspired from the Great Plateau’s in Zelda’s game, but the end result looks nothing like the Great Plateau’s. In the end, I didn’t use the pointy shape from Baffin Islands and instead went with flat tops on the plateau’s.
Terrain Working Process
The terrain was made in Houdini using Heightfields, which isn’t new to me. I have used it before. This was the first time I was going to port it over to Substance and develop my own workflow style that would serve as the basics for my workflow between Houdini and Substance from now on.
I have a very detailed breakdown on this in another post, so I’m not going into details about how it was created. This post is going to focus on the challenges and obstacles I encountered during this small project.
Obstacles
UV Stretching on sides of Mountain on Heightfield Terrain made in Houdini
As I mentioned before, I had always struggled with the unwrapping process of the Heightfields in Houdini. There would be extreme amount of stretching on the sides of the mountains, which causes a great loss in detail.
4M points in zBrush (terrain imported from Houdini)
So my first experiment was to turn to zBrush and try to use Pixologic’s awesome UV Unwrapper, which works great for a lot of things.
After several tries to remesh and retopologize everything, I finally got it working.
But it took several tries because zBrush kept crashing on me due to the large number of polygons on the Heightfield.
zBrush UV Unwrapped Heightfield Terrain from Houdini
To my surprise…
It didn’t help much.
This is where I started searching online for a solution and it took a couple of days for me to get a working solution. This is where I learned the importance of Texel Desnity and UDIM’s.
UDIM
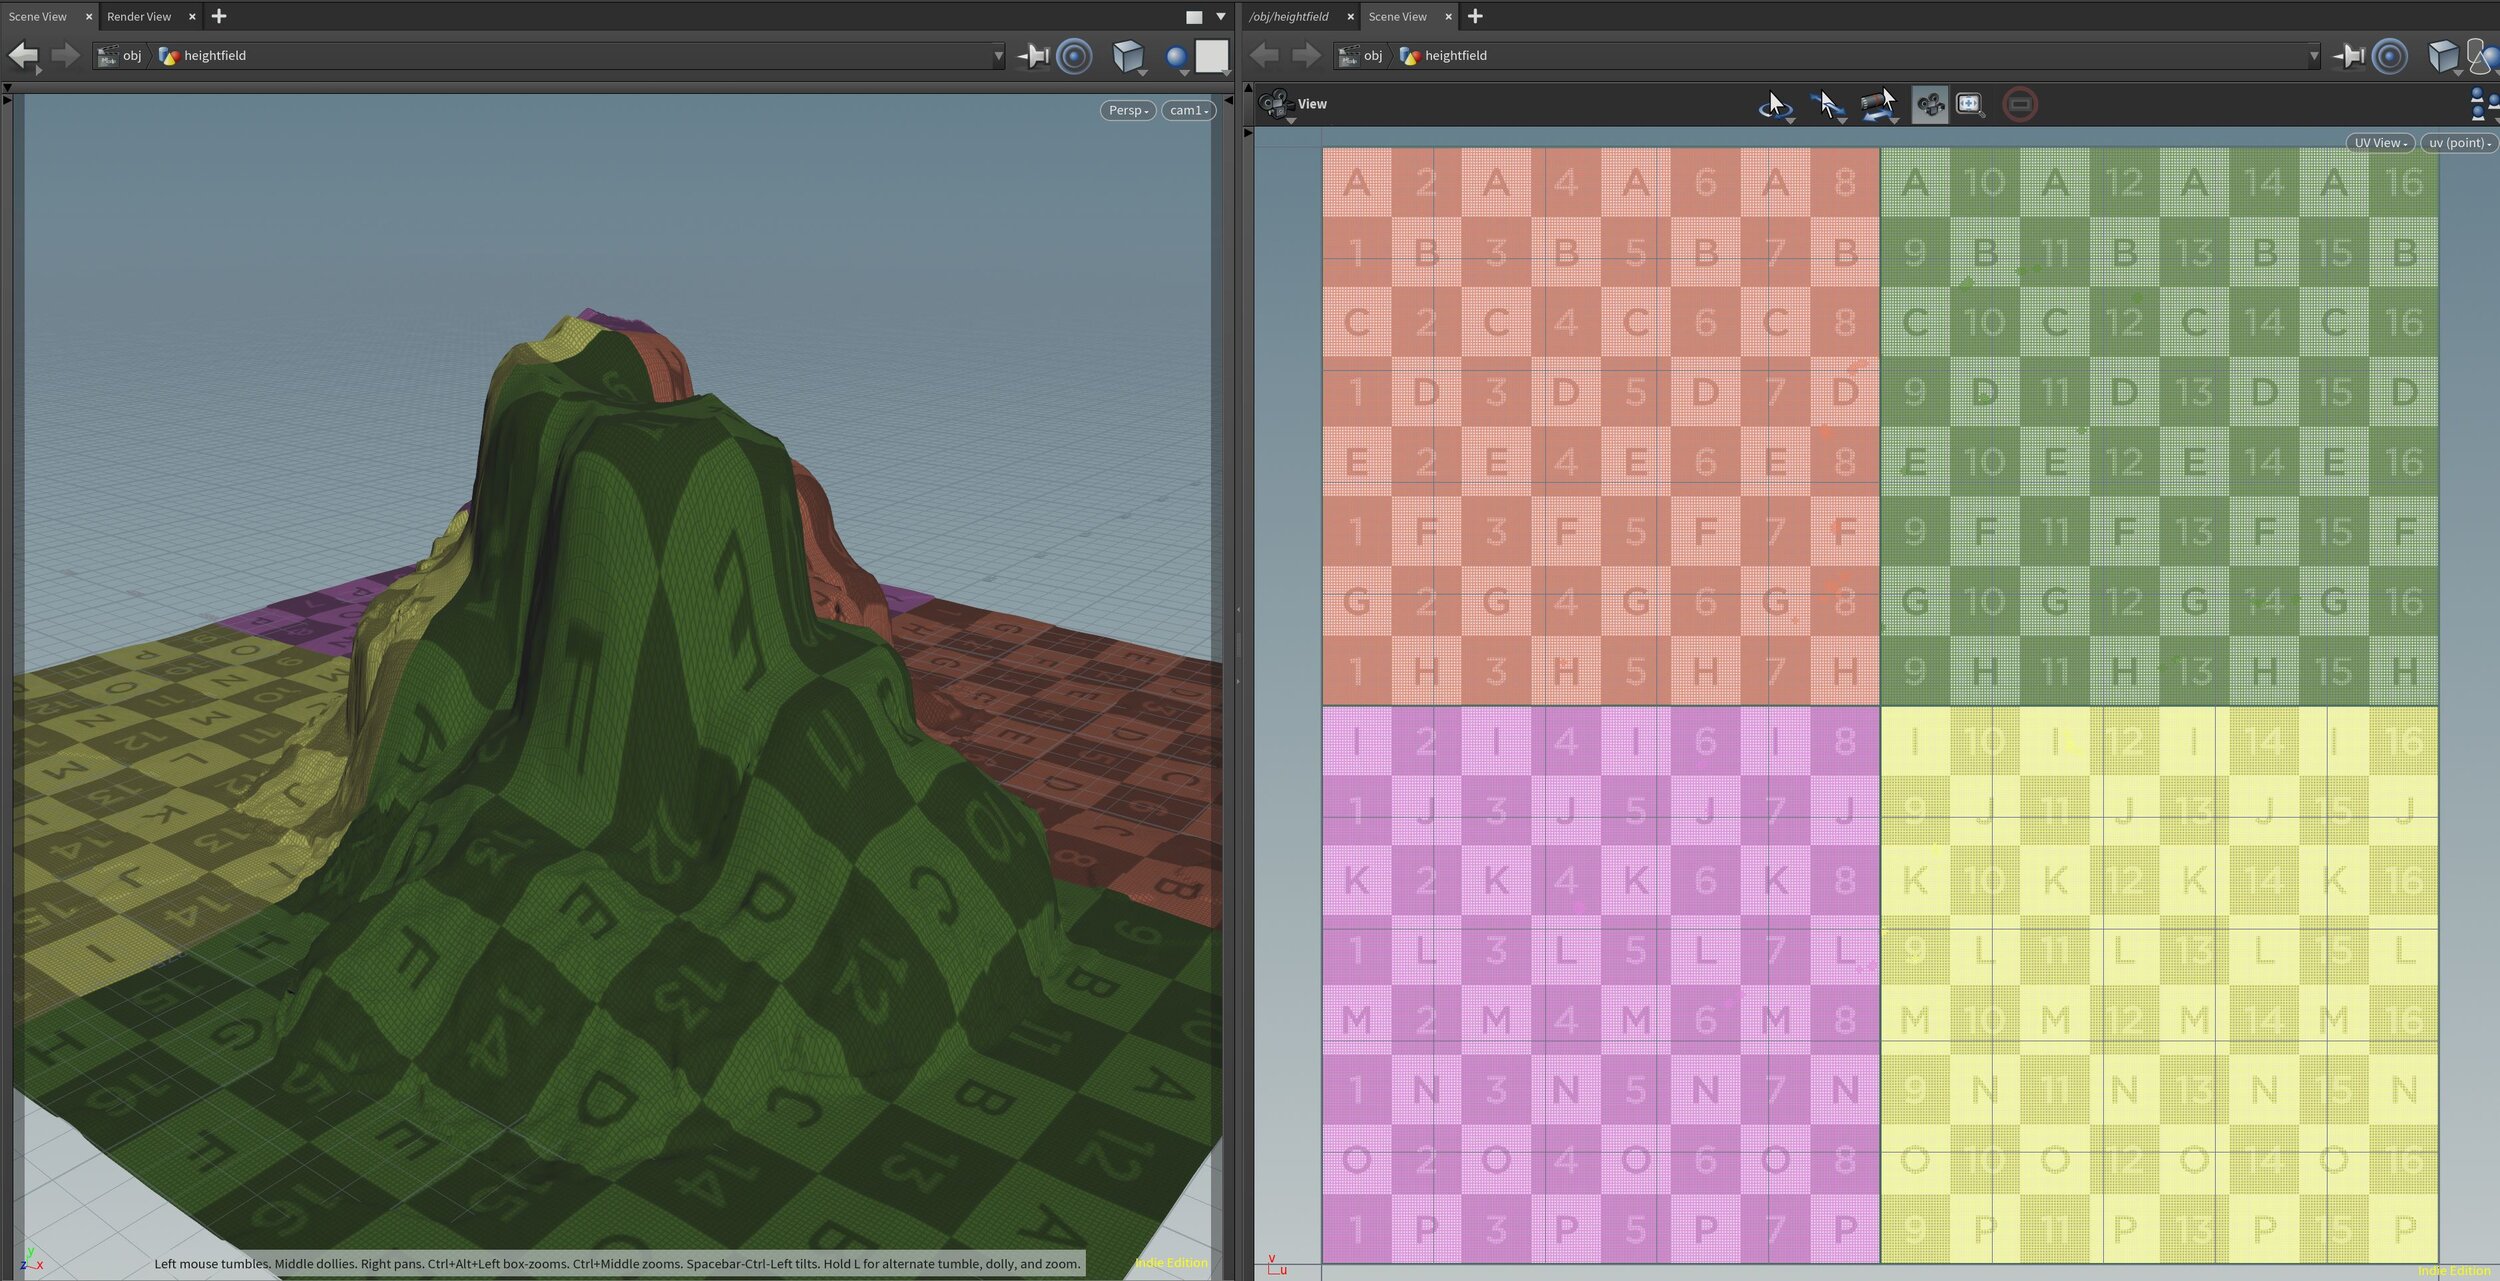
UV Unwrapped Terrain with UDIM 2x2 Tiling
With UDIM, it splits the Terrain geometry into several quadrants or squares so each 0 to 1 UV spacing maps to a smaller area on the geometry and increases the Texel Density. In simple terms, there’s a lot more data stored in the UV maps that describe about the terrain. This data is essential when it comes to creating textures and shading.
UV Unwrapped Heightfield Terrain in Houdini
So the problem is the basic UV unwrap that I did at the beginning with Houdini’s UV unwrap node, it creates a simple UV mapping from a 0 to 1 UV spacing. This normally would be enough if the object was less complicated, but with Heightfields, it’s a huge geometry. My terrain consists of 4 million polygons and the stretching on the sides are very unpleasant.
In order to get the nice colorful squares shown above, I came across a very handy tool in Houdini, the Labs Terrain Mesh ROP, which automatically splits the geometry into squares that you can specify in the Tile parameter.
Extremely useful!
0 to 1 UV spacing map
But … There’s always a but. But if you look carefully at the colorful squares, it’s still mapped to the 0 to 1 UV spacing, so I’m not really gaining anything in terms of Texel Density.
The UV squares appear throughout all the colorful squares, which tells me the whole terrain is mapped to a single 0 to 1 UV spacing.
The screenshot above, has the UV squares only appearing on the left bottom square, because they are 2x2 UDIM tiling.
So in order to fix this, I used Houdini’s UV Layout node rearrange the UV’s so they are 2x2 tiling of 0 to 1 UV spacing. This increases the Texel Density and increases the resolution of the UV maps. Now this doesn’t really solve the stretching on the side of the mountains, which I couldn’t fix without losing the nice Heightfield Layer data.
Heightfield Layer Data
Erosision Layers in Houdini
If you ever used Houdini’s Erosion node, you’ll know how precious the Heightfield Layer data is. It describes where the erosion took place on what areas of the terrain. This allows us to use this data to setup materials and uniquely shade the terrain and target certain erosion areas to be assigned to specific materials.
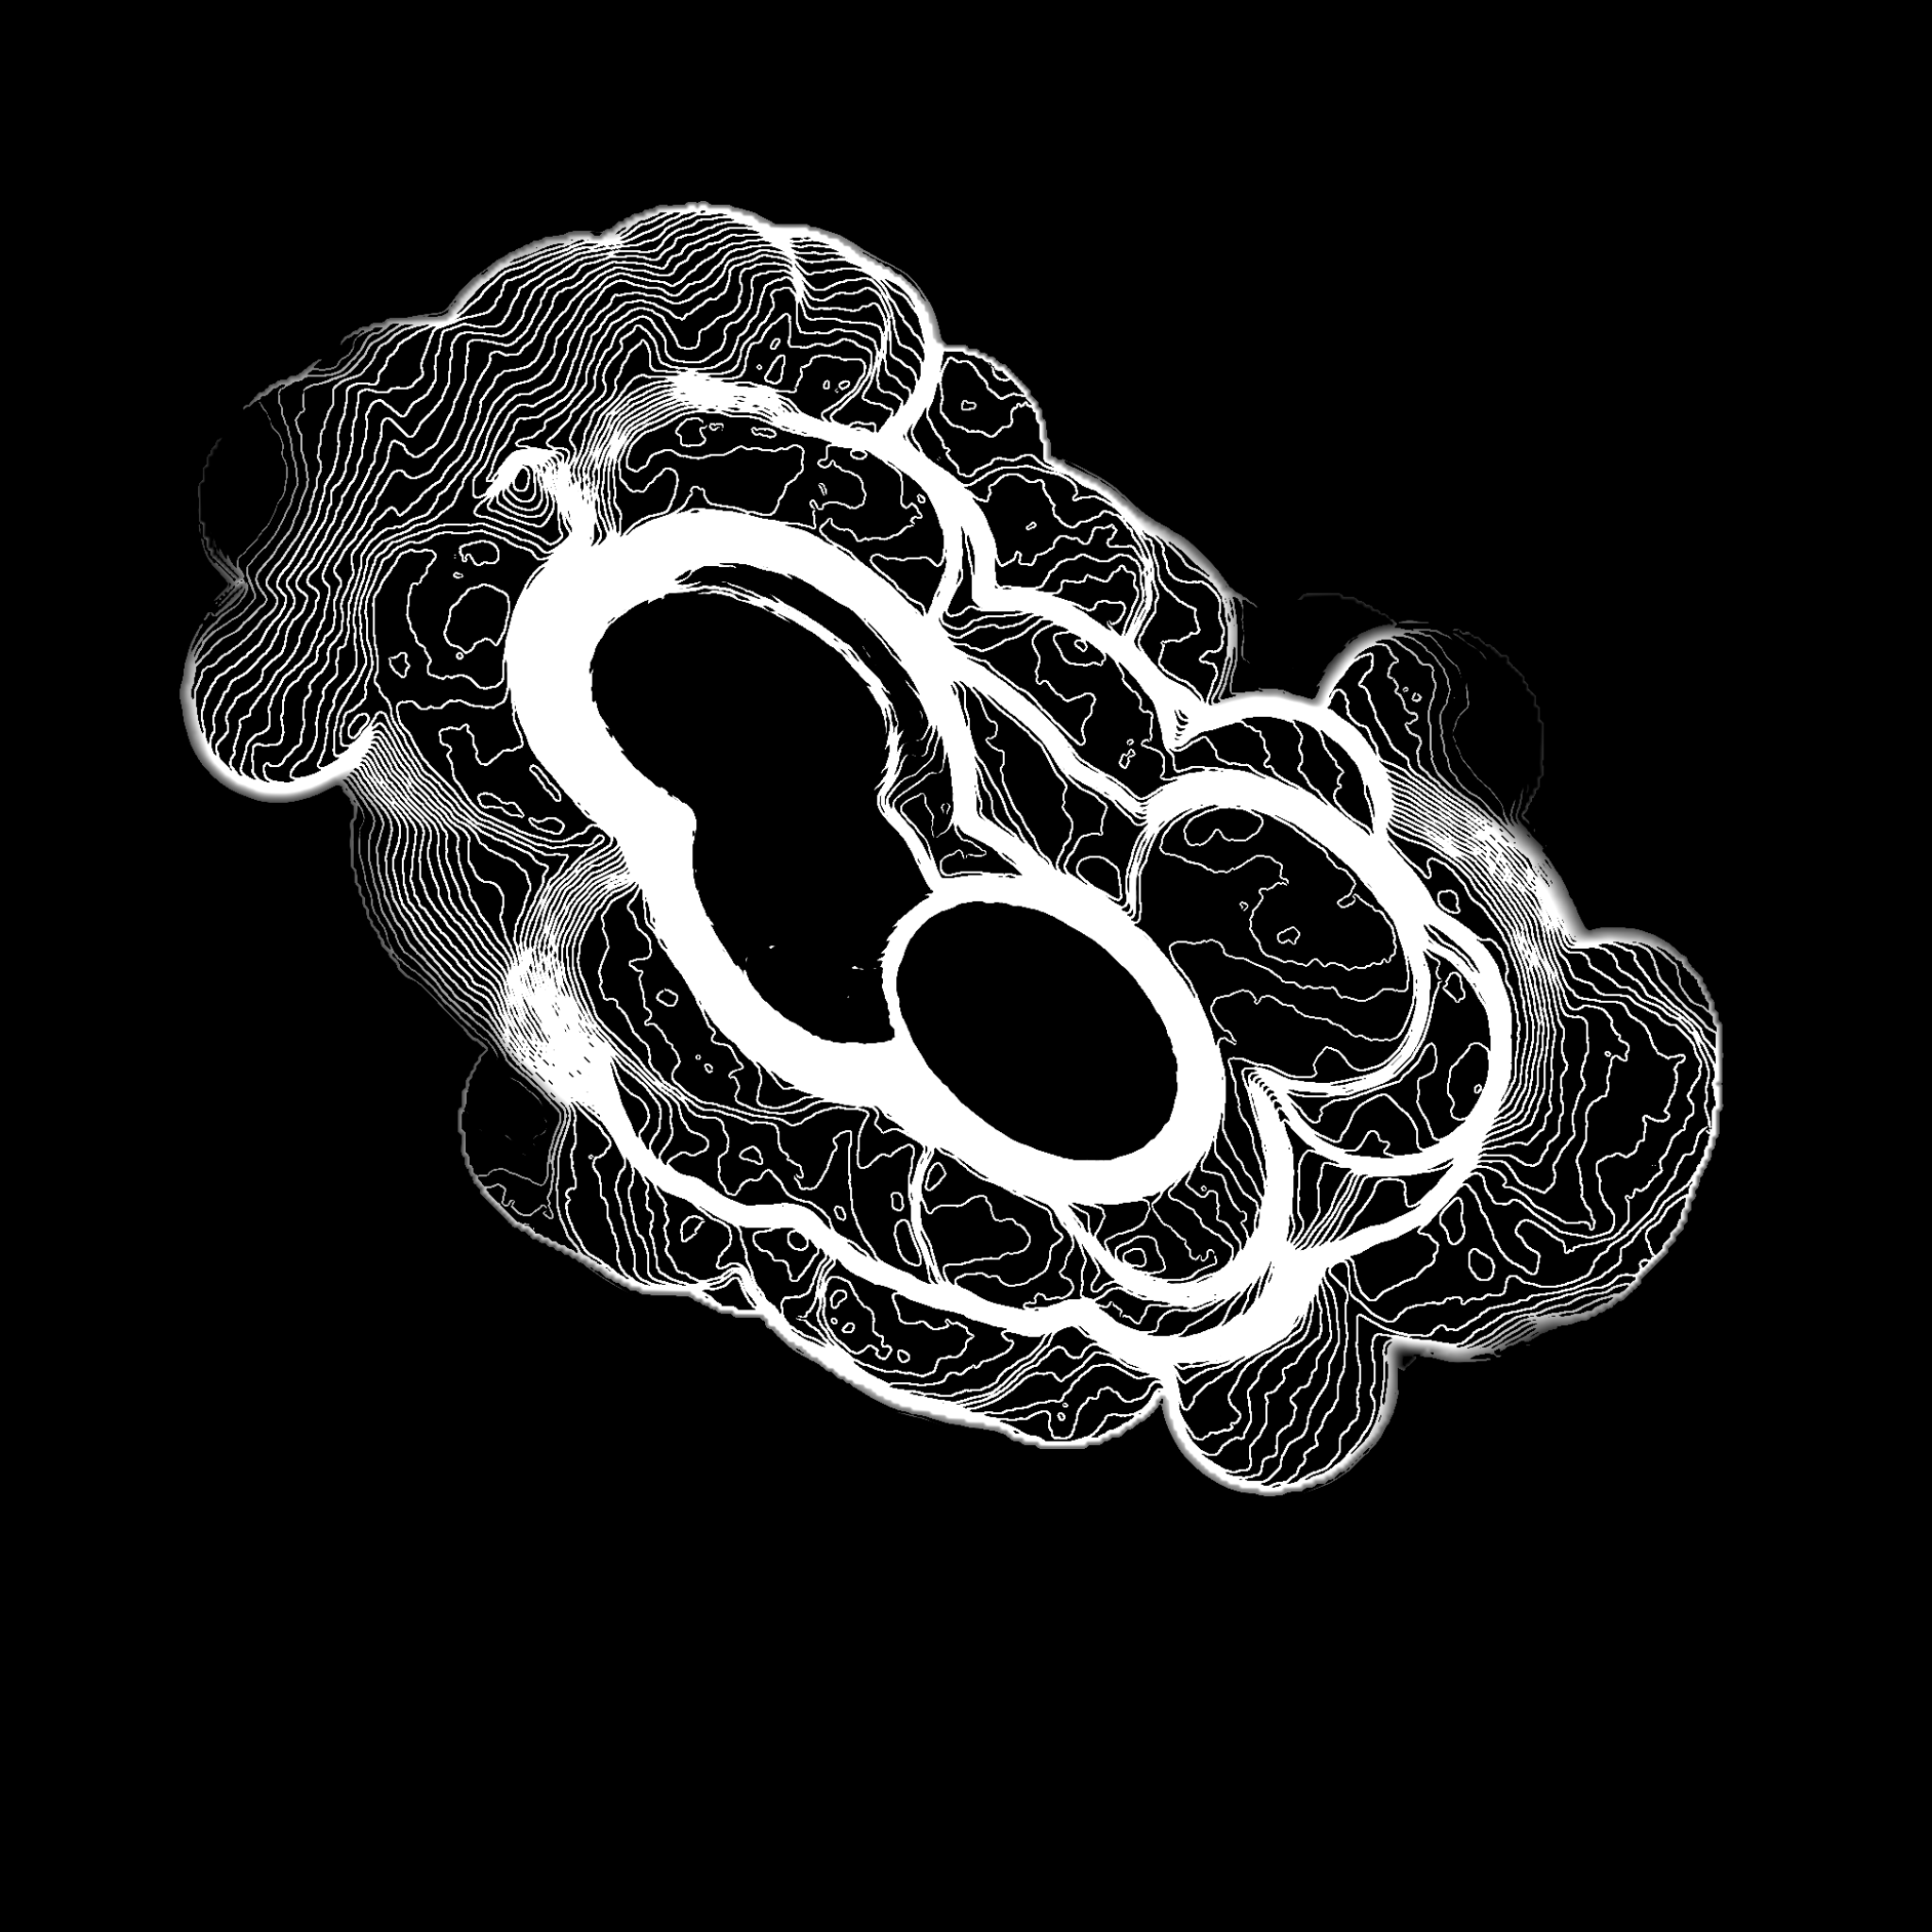
Cliffs Layer Mask for the Heightfield Terrain
This is what it looks like if I just exported the Cliffs layer onto PNG image file. The screenshot on the right is a single image file, in reality, because I have UDIM maps on a 2x2 tiling, the image on the right would be cropped into 4 pieces. Very similar to what the colorful squares looked like.
This masking data is what I import into Substance Painter and use to mask out certain areas and assign materials to those respective areas. Now the masking on the right is obviously taken from a bird’s eye view from the orthographic top projection. This means when I important it to Substance Painter, it need to be mapped the same way, from the orthographic top.
This is the very reason why I needed to leave the stretching UV’s as is (the stretching that happens on the side of the mountains).
The UV unwrap node in Houdini, simply did a orthographic top projection to unwrap the geometry, which works nicely when you need to use the masking.
There is another way around this. You can use a triplanar in Substance Painter and remap this masking image back onto the geometry in Substance Painter, but I find that to be too tedious to work with. And after increasing the Texel Density it compensated for the stretching UV’s and didn’t really affect the final quality too much.
Substance Painter
Substance Painter texturing Heightfield Terrain in Houdini
In order to import the UDIM and UV maps to Substance Painter, you need to setup Texture Sets. In my case, I needed 4 Texture Sets, because I had a 2x2 tiling setup for the my UDIM. It was a bit tedious to setup in Painter simply because the response slowed down in the application as I created more Texture Sets, but it was tolerable. This might be due to the fact that I only have 64 GB of RAM. Not really sure. But it was tolerable.
Now I do have a more thorough breakdown of what I did in Substance Painter step by step in my other blog post, so I’m not going to go into details about that in here.
Final Thoughts
Photoshop Result of Alien Plateau Terrain (made with Houdini & Substance Painter)
The final results were quite pleasing as a first try into my Houdini to Substance Painter workflow.


