Grain Simulation on Heightfield Terrain in Houdini
First version of the Vellum Grains simulation in Houdini
I always wanted to learn and try out Vellum Grains in Houdini, but never really got myself around to do it. After making the Alien Plateau, I thought this was the perfect opportunity to create some sort of snow avalanche. This however wasn’t what I ended up as the final result. If you want a breakdown of the Heightfield Terrain, it’s the previous post.
Inspiration vs Final Result
Draft Test of Vellum Grains Simulation in Houdini
The snow was really hard to blend with the Alien Plateau terrain, so I started changing the color after I got the Grain simulation working and ended up with a completely different rock slide falling scene sort of. Either way, the end result looked much more pleasing.
Longer Version of the Grains simulation with lower resolution generated in Houdini
Here’s a low resolution version with the full animation, it was the only way I could fit it for the upload requirements.
First Time for Everything
This was my first time using Vellum Grains in Houdini and along the way I encountered a few head banging obstacles that I thought I was going to give up at one of the darkest hour of the making process. But I’m so glad I was saved by one of those “ohhhhh” moments.
Hardware Limitation vs Experience
Vellum Grains take up a lot of memory! I don’t have a lot of RAM on my machine. I spent most of my money on the CPU and literally had nothing left for the RAM, because the RAM sticks were reused over from the older machine to save money.
First time using Vellum Grains, Over populating Grains throughout the whole Heightfield in Houdini
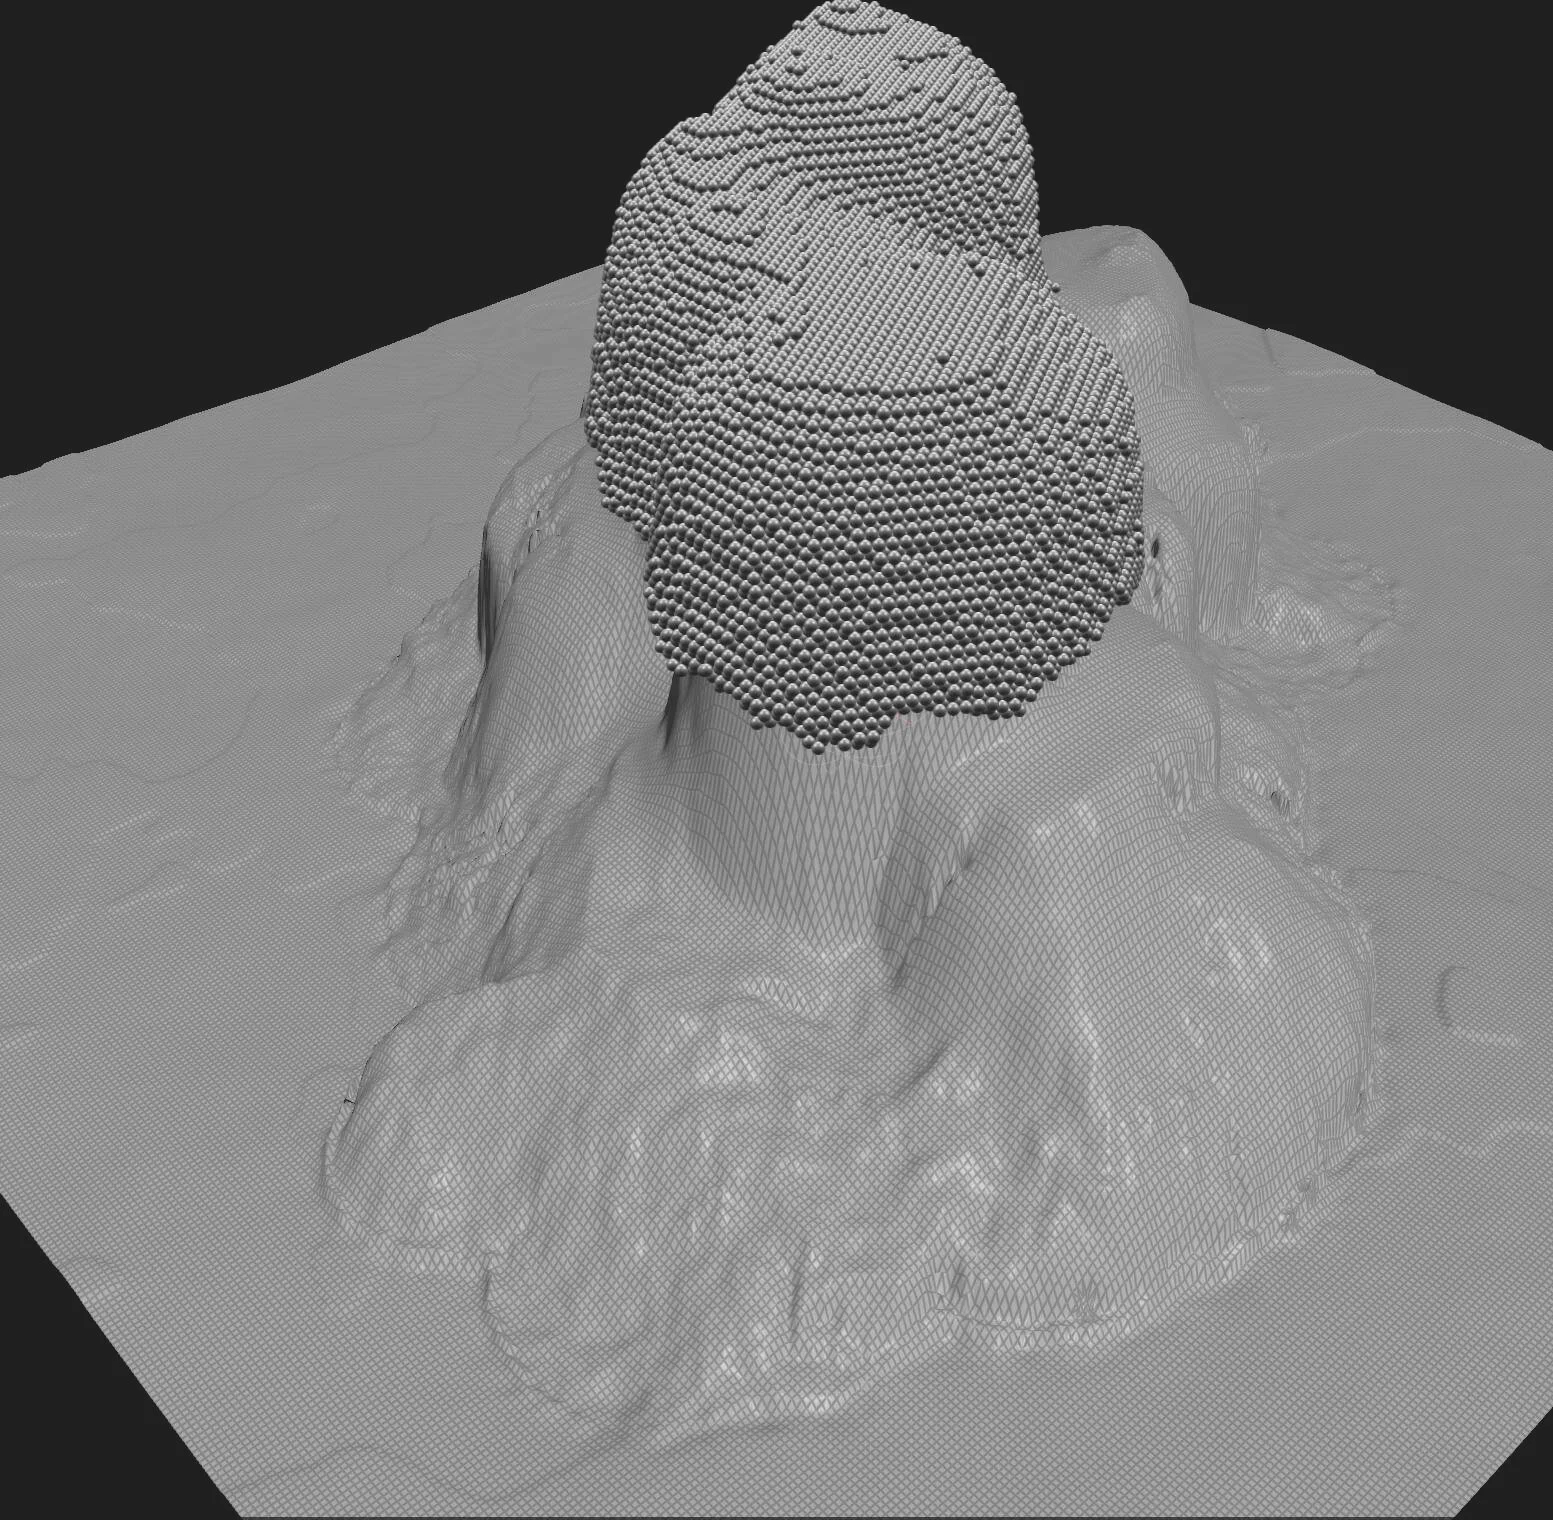
To be honest, I wasn’t using the Vellum Grains efficiently at first. I was trying to fill my Heightfield Terrain was grains. The Heightfield Terrain is 1300x1300 Houdini units area dimensions and this is the standard Heightfield landscape that you start off with in Houdini. I didn’t modify it to make it bigger or anything.
More Efficient use of Vellum Grains by populating the area of focus
At first this wasn’t obvious to me. My first instinct was to drop down a vellum grain node feeding in the heightfield, so this immediately crashed after I think it was around 5min of calculating. I’m not too sure of the exact time, I went to do something else. I just thought it was just one of Houdini’s infamous regular crashes, so I repeated the process without thinking. Of course it crashed again.
Size Matters!
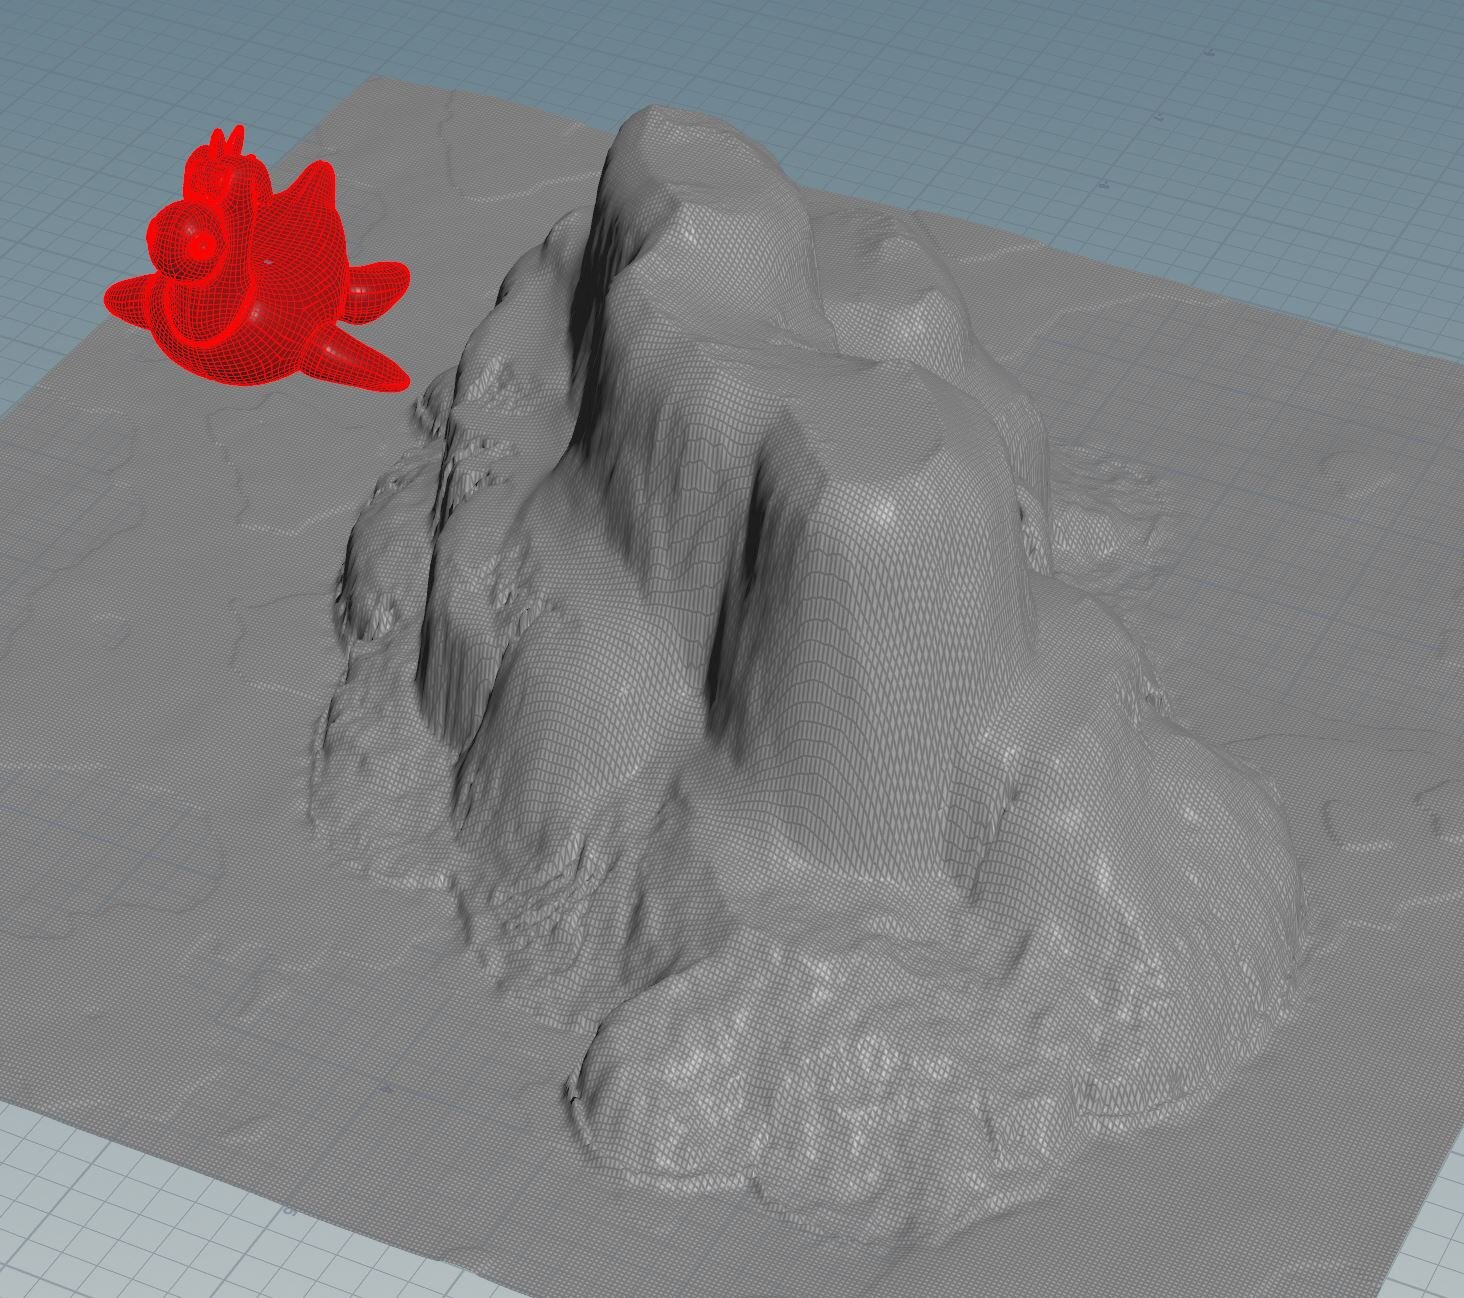
Rubber Toy is scaled up 10 times compared to Heightfield
Then it hit me, the Heightfield is enormous! Just for comparison, the Rubber Toy is 2x2x2 and the Heightfield is 1300x1300 Houdini units. I can’t even see the Rubber Toy object when it’s placed on the Heightfield from a far shot.
If you really think about it, I don’t really need the Heightfield to be the actual size, because Vellum Grains will be a SOP geometry, I can make the whole scene smaller and move the camera closer. It would still look like a large landscape with the decent camera angle.
Heightfield is shrank 100 times smaller to make it more ideal for working with Vellum Grains in Houdini
So I made the Heightfield 100 times smaller.
And I even went as far as to only populate grains on the peaks of the plateau’s of the mountains, because the goal was to make an avalanche or some sort of rocks falling down. I don’t need grains on the bottom at the mountain’s summit.
Clip away and extrude the geometry in order to get some volume to feed into the Vellum Grains node. The Vellum Grains has an option that allows you to “Create Points from Volume” which will neatly create grain points from the volume or geometry you feed in.
Vellum Solver
Small Test of Vellum Grains simulation after getting everything hooked up
Then I created my dopnet with a simple Vellum solver setup, added the Heightfield Terrain as a static object and did what all inpatient Houdini user would do, run the simulation. Running the SIM is actually a good way to do a sanity check to see if everything is working before proceeding on.
To my surprise, it looked pretty good!
I then pumped up the Substeps to 5 and reran the simulation. Then it exploded! I’m not sure why. I can only guess that the Heightfield geometry is too close to the grain particles and when you play the simulation, all the grain particles just bounce away. So I turned down the bounce on the static object to 0 and turned up the friction to 2.
Recook and analyze. Rince and repeat.
Rendered Particles & Volume for Vellum Grains in Houdini
I then turned up the attraction and attraction weight. And after some research and learning online, I created an attribute, attached it to the initial Vellum Grain points on the SOP level, randomized the weight. Then it automatically get fed into the dopnet along with my setup.
Rendered only Particles of Vellum Grains in Houdini
Here’s a version of just the particles being rendered out. The one above has a volume & particles being rendered out.
Vellum Constraints
Grain Constraints
I actually couldn’t tell much of a difference with this attraction weight, but maybe it’s because my particles are falling down the mountain slopes. So anyways, I moved on and created constraints. To my surprise, this was very similar to the way I manually created constraints for RBD simulations that I showed in my older Youtube video.
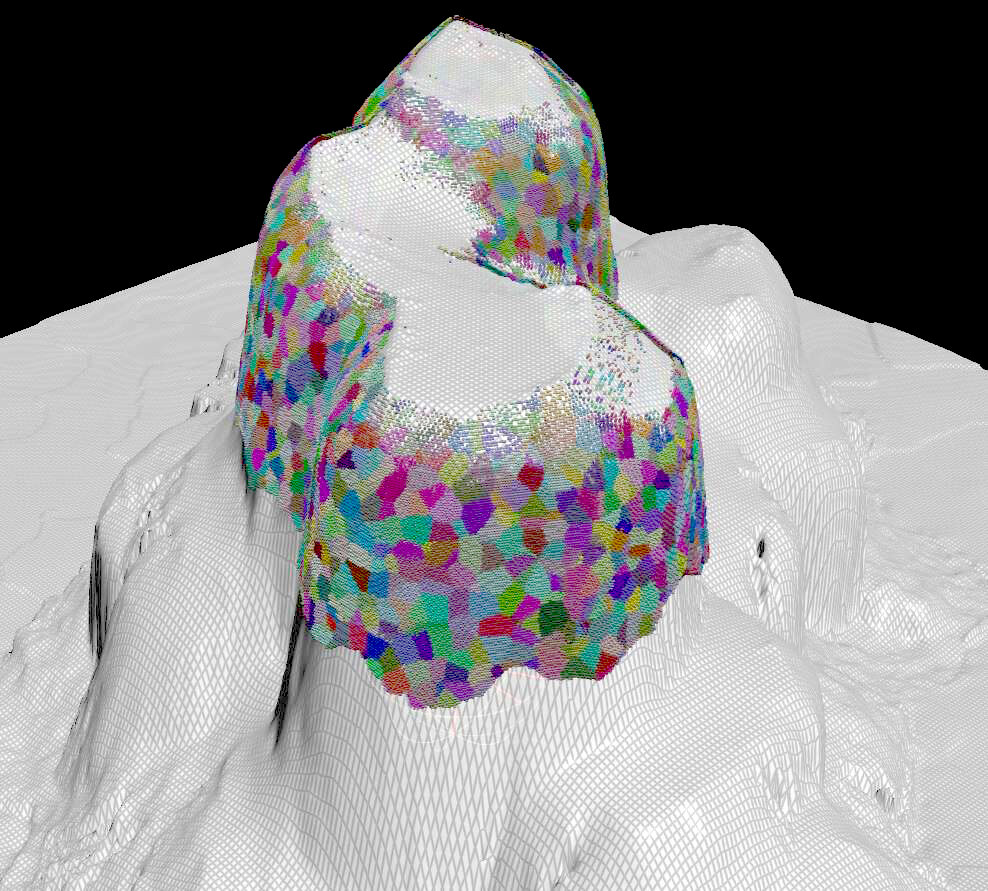
Clustering Grains in groups using Voronoi Cell Noise in Houdini
So that was nice to reuse some knowledge. The constraints I made are super basic. I used the Voronoi Cell noise in the Point VOP to create islands of clusters and then used the same Connected Adjacent node that I used for the RBD in my Youtube to create the constraints primitives.
The clustering effect was settle, but I could see it. As the grains fall some fell like sheets of ice stuck together and others fell apart as it hit the ground or slid apart.
@active & @stopped
Green are Active Grains and Red are Inactive Grains (sleeping)
The RBD packed primitives in RBD simulations recognizes this @active attribute that essentially turns the respective particle or object on and off within the simulation. Vellum Grains has something similar, but it’s named @stopped.
What happens to the object if it’s inactive?
Nothing, it’ll just freeze exactly where it is throughout the whole simulation.
This is extremely handy when you want to control how your simulation kicks off. You may want a small portion of the scene to start off while slowly growing the effect throughout the whole area.
First version of Growth Effect and Grains falling
This is exactly what I wanted to do with the Vellum Grains particles. I wanted a small portion of grains to fall down while spreading this effect throughout the whole mountain top. This way it’ll make it look a little more interesting rather than having all the grains fall at the time.
Shading
First version of Shading Grains as Snow (hard to blend with terrain)
The shading was pretty straight forward. As I mentioned at the beginning, the original idea was to create some sort of ice avalanche scene, but the white snow like particles didn’t blend that well with the Alien Plateau Terrain, so I picked 2 colors that from the terrain that were of extreme contrast values and assigned it to the particles.
Changed Grain Particles to yellowist brown and Dark dirty black instead of the white snow (better blend with terrain)
I applied a very basic Redshift Noise onto the material using the point as the input and increased the scale so I would have more clustering and fed that to a clamp node and finally a color ramp. The two high contrast colors were assigned to the opposite ends of the color ramp. This created a very nice blend between the particles and the terrain, like it was a whole geometry on the first frame before the grain started falling down.
However it is still unpleasant and very obvious that the grains are initialized from the mountain tops.
Rendered Scene with updated colors in materials
I ran with this and rendered it out to see how it looks like so far.
Accidently moved Heightfield and it ended up covering some Vellum Grain Particles which gave me an idea!
Happy Accidents
I accidentally moved the Heightfield Terrain a little higher and it ended up covering the simulated Grain particles, which gave an interesting effect!
It looked a lot better because the particles looked like it was falling out of the mountain.
I was able to move the Heightfield geometry because the terrain I’m rendering is a geometry node branched from the original terrain that is converted into a VDB for better collision detection.
If you want to learn more about VDB collision detection in the dopnet for static object, I got a Youtube tutorial video on that too, but it deals with water instead of particles.
Frame 13 where Grains are starting to fall down, so it looks like its popping out from the mountain
Here’s a shot on frame 13 where the Vellum Grains start to fall.
You may have to look a little closer to see it.
Grains become visible and active, but because the Terrain was moved, it appears to be going through the mountain as they fall
The animation on the right is still the version with the Heightfield moved up a little and covering some of the particles, but due to this happy accident, I was able to see that this change really made the visual effect pop out.
However if you look carefully at the animation on the right, you’ll see the Vellum Grain particles are going through the Terrain. Makes sense, since I moved the terrain up. I wanted this effect without defying the laws of physics.
Grains that are inactive are removed and only visible when they wake up and become active and moved terrain back into original place, so it doesn’t look like particles going through terrain
This is where I came up with the idea to remove all the particles that were inactive throughout the whole scene. All it took was a blast node dropped at the end of the whole setup. Set it to find @active=0 as a Houdini expression to find all Vellum Grain particles that were inactive and remove them from the scene.


