Vellum Soft Skin! Procedural Modeling Techniques Part 4!
Can’t access the above HIP files? Try joining the Bubblepins Membership Program!
Click Here to join Bubblepins Membership here and gain access to tons of exclusive content! Including HIP files, HDA assets, and HQ version of Stream videos!
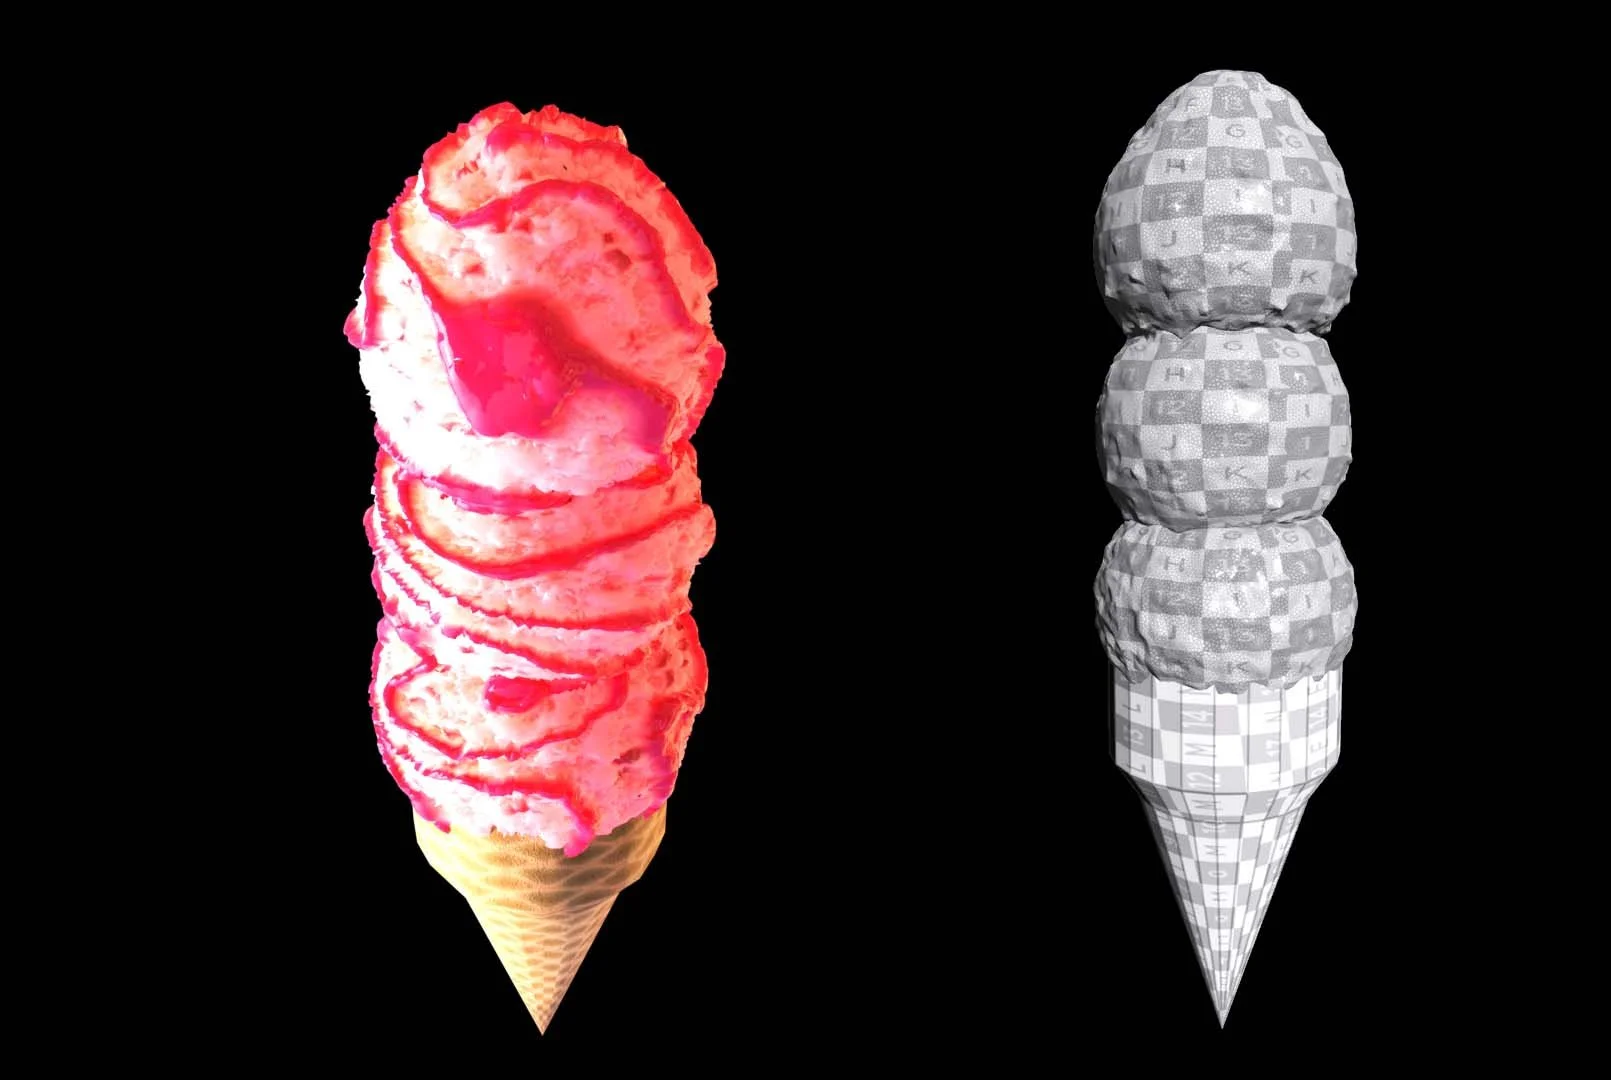
Ice Cream Cone modeled in Houdini Vellum & Textured in Substance Painter & Rendered with Blender Cycles

Baggy Skin Head modeled in Houdini Vellum & Textured in Substance Painter & Rendered with Blender Cycles
Baggy Skin (Before & After Vellum Post Processing)

Baggy Skin Surface simulated in Houdini & Rendered with Flipbooks
One of the keys to the whole baggy skin look is to apply the Vellum Post Process in order to really visualize the baggy skin. If you simply use the raw look straight out of the Vellum Solver, you’ll have a hard time visualizing the baggy skin.
The whole Vellum scene setup for the baggy skin effect requires a lot of tweaking of the Vellum Constraint parameters, adjust the Stiffness, Damping Ratio, and even Rest for both Stretching & Bend properties.
I start off with some very very simple Vellum setups to explain some Basic Concepts and then apply these Basic Concepts onto real life scenes, like the Baggy Skin effect and Flat Tires effect.

Flat Tires modeled in Houdini Vellum & Textured in Substance Painter & Rendered with Blender Cycles & Car sculpted in zBrush

Flat Tires effect simulated in Houdini Vellum & Rendered in Blender Cycles & Textured in Substance Painter