RBD Connected & Disconnected Face Nodes in Houdini
Download Houdini File: RBD_Tools_Tutorial_Glass_RBD_Faces.hiplc
After fracturing a geometry, we often don’t care about the interior faces unless we need to add noise or displacement to it.

Fractured Geometry without RBD Connected & Disconnected Face Nodes
Have you ever tried rendering a transparent material that is fractured?
How about rendering a fractured geometry before it breaks?
Most times when we throw on a material onto the fractured geometry it’s plastic, metal, or even wood, but what happens when we throw on a transparent material like glass?
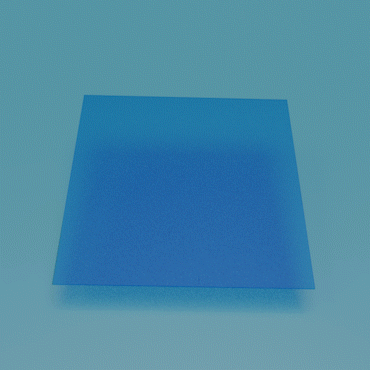
Glass-like Material
Transparent material is see-through and when a fractured geometry with transparent material is rendered, all the interior faces will render out with it. This will make it hard to render simulations of breaking glass since the geometry looks broken before it hits the ground.

Fractured Geometry with RBD Connected & Disconnected Face Nodes
RBD Connected & Disconnected Face Nodes
Among the RBD Tools, there is a node named “RBD Connected Faces” and “RBD Disconnected Faces” which when paired together can delete the interior faces when the geometry is a whole, which is before the geometry breaks. This can solve the issue of destruction simulations involving glass like materials.
Glass Shattering simulated in Houdini & rendered in Blender Cycles
Since the interior faces are deleted at the beginning of the animation, this makes it very suitable for rendering a seamless perfect sheet of glass on frame 1. It’s actually still broken on frame 1, but since the pieces are very close to each other and there are no interior edges it’ll look like a perfect sheet of glass on frame 1. When the animation starts to play and the glass pieces start to break apart creating distance between each piece, the RBD Disconnect detects this and puts the interior faces back where they belong. This creates a broken sheet of glass feel.
The animation on the right was rendered in Blender Cycles about a year after I created this tutorial, so I don’t have the Redshift license anymore to render it with the nice glass shader that came with Redshift.

The model on the right, we can see lines forming inside the 3D printed object, which will become weak points after the model is printed.
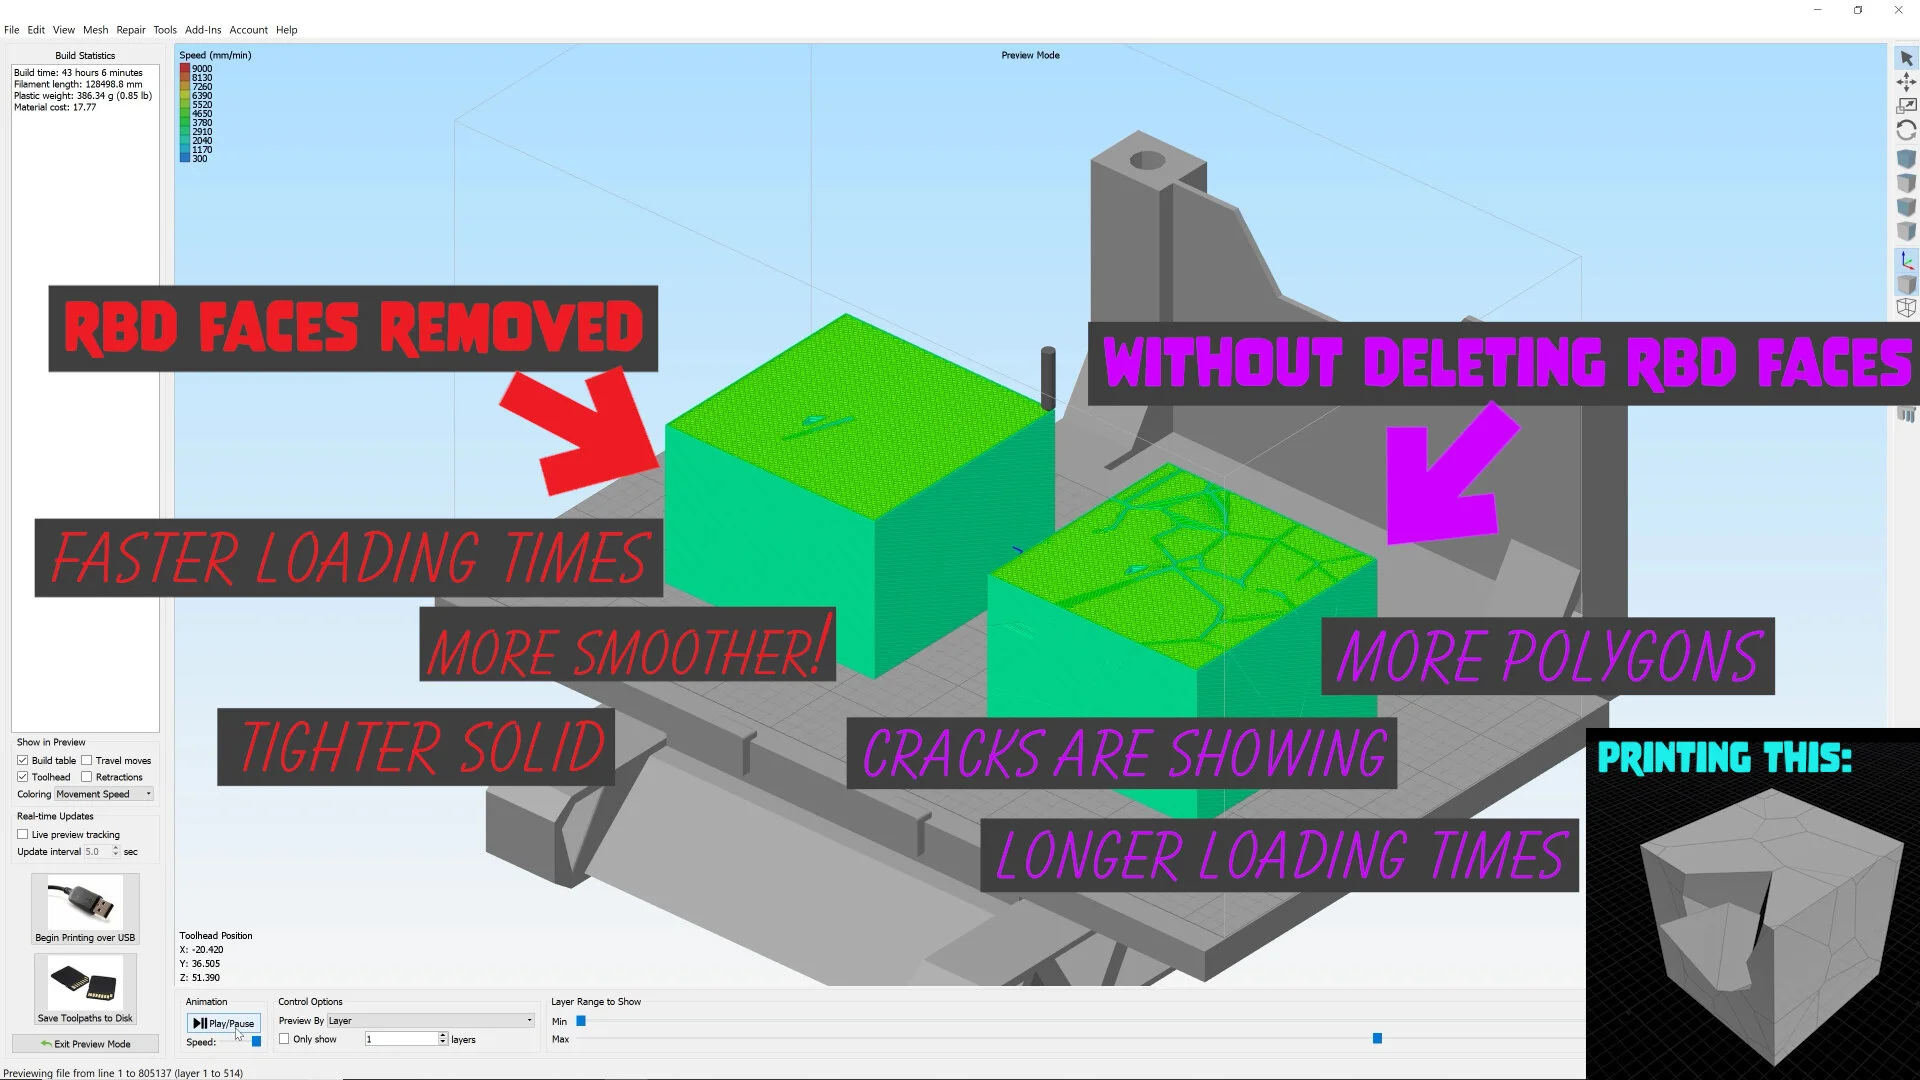
Using RBD Face Nodes for 3D Printing
When prepping a model ready to be 3D printed, one of the main concerns when you have multiple individual objects that’s not welded together, but need to be printed together. Usually the first thing I use to do was throw on a boolean node, which would weld the interior primitives and make the geometry a complete whole. The RBD Connected and Disconnected Face nodes changed all this. Since both RBD Face nodes can remove interior faces and with very quick performance, this makes it perfect for welding geometry to be 3D printed.
Same 3D print at around 50% progress
The resulting printed model is much more stronger after the faces are welded because this will allow the 3D printer to print the model in such a way where the surfaces are actually tied together. In the end of the video, I have a short blurb on how this can be used for 3D printing models.