Shoes Base Mesh

Textured & Rendered in Substance Painter with Iray
I recently came across this blog post on Substance Magazine about footwear design using Substance Painter. This got me fired up and inspired to try this workflow out for apparel and CG. Houdini’s Vellum Drape node is awesome for creating clothing and simulating it action, which got me thinking what awesome animation could come out of all this if combined forces with Substance Painter.

Another variation (Textured with Substance Painter, 3D Shoes)
I wanted to test out the Houdini to Substance Painter workflow by texturing a pair of shoes first and see what it would look like. Also judge for myself the difficulty level of the whole process.
This blog post will discuss how I isolated the shoe geometry from Houdini’s built-in Shelf-Tool, labelled Simple Male.
Base Mesh
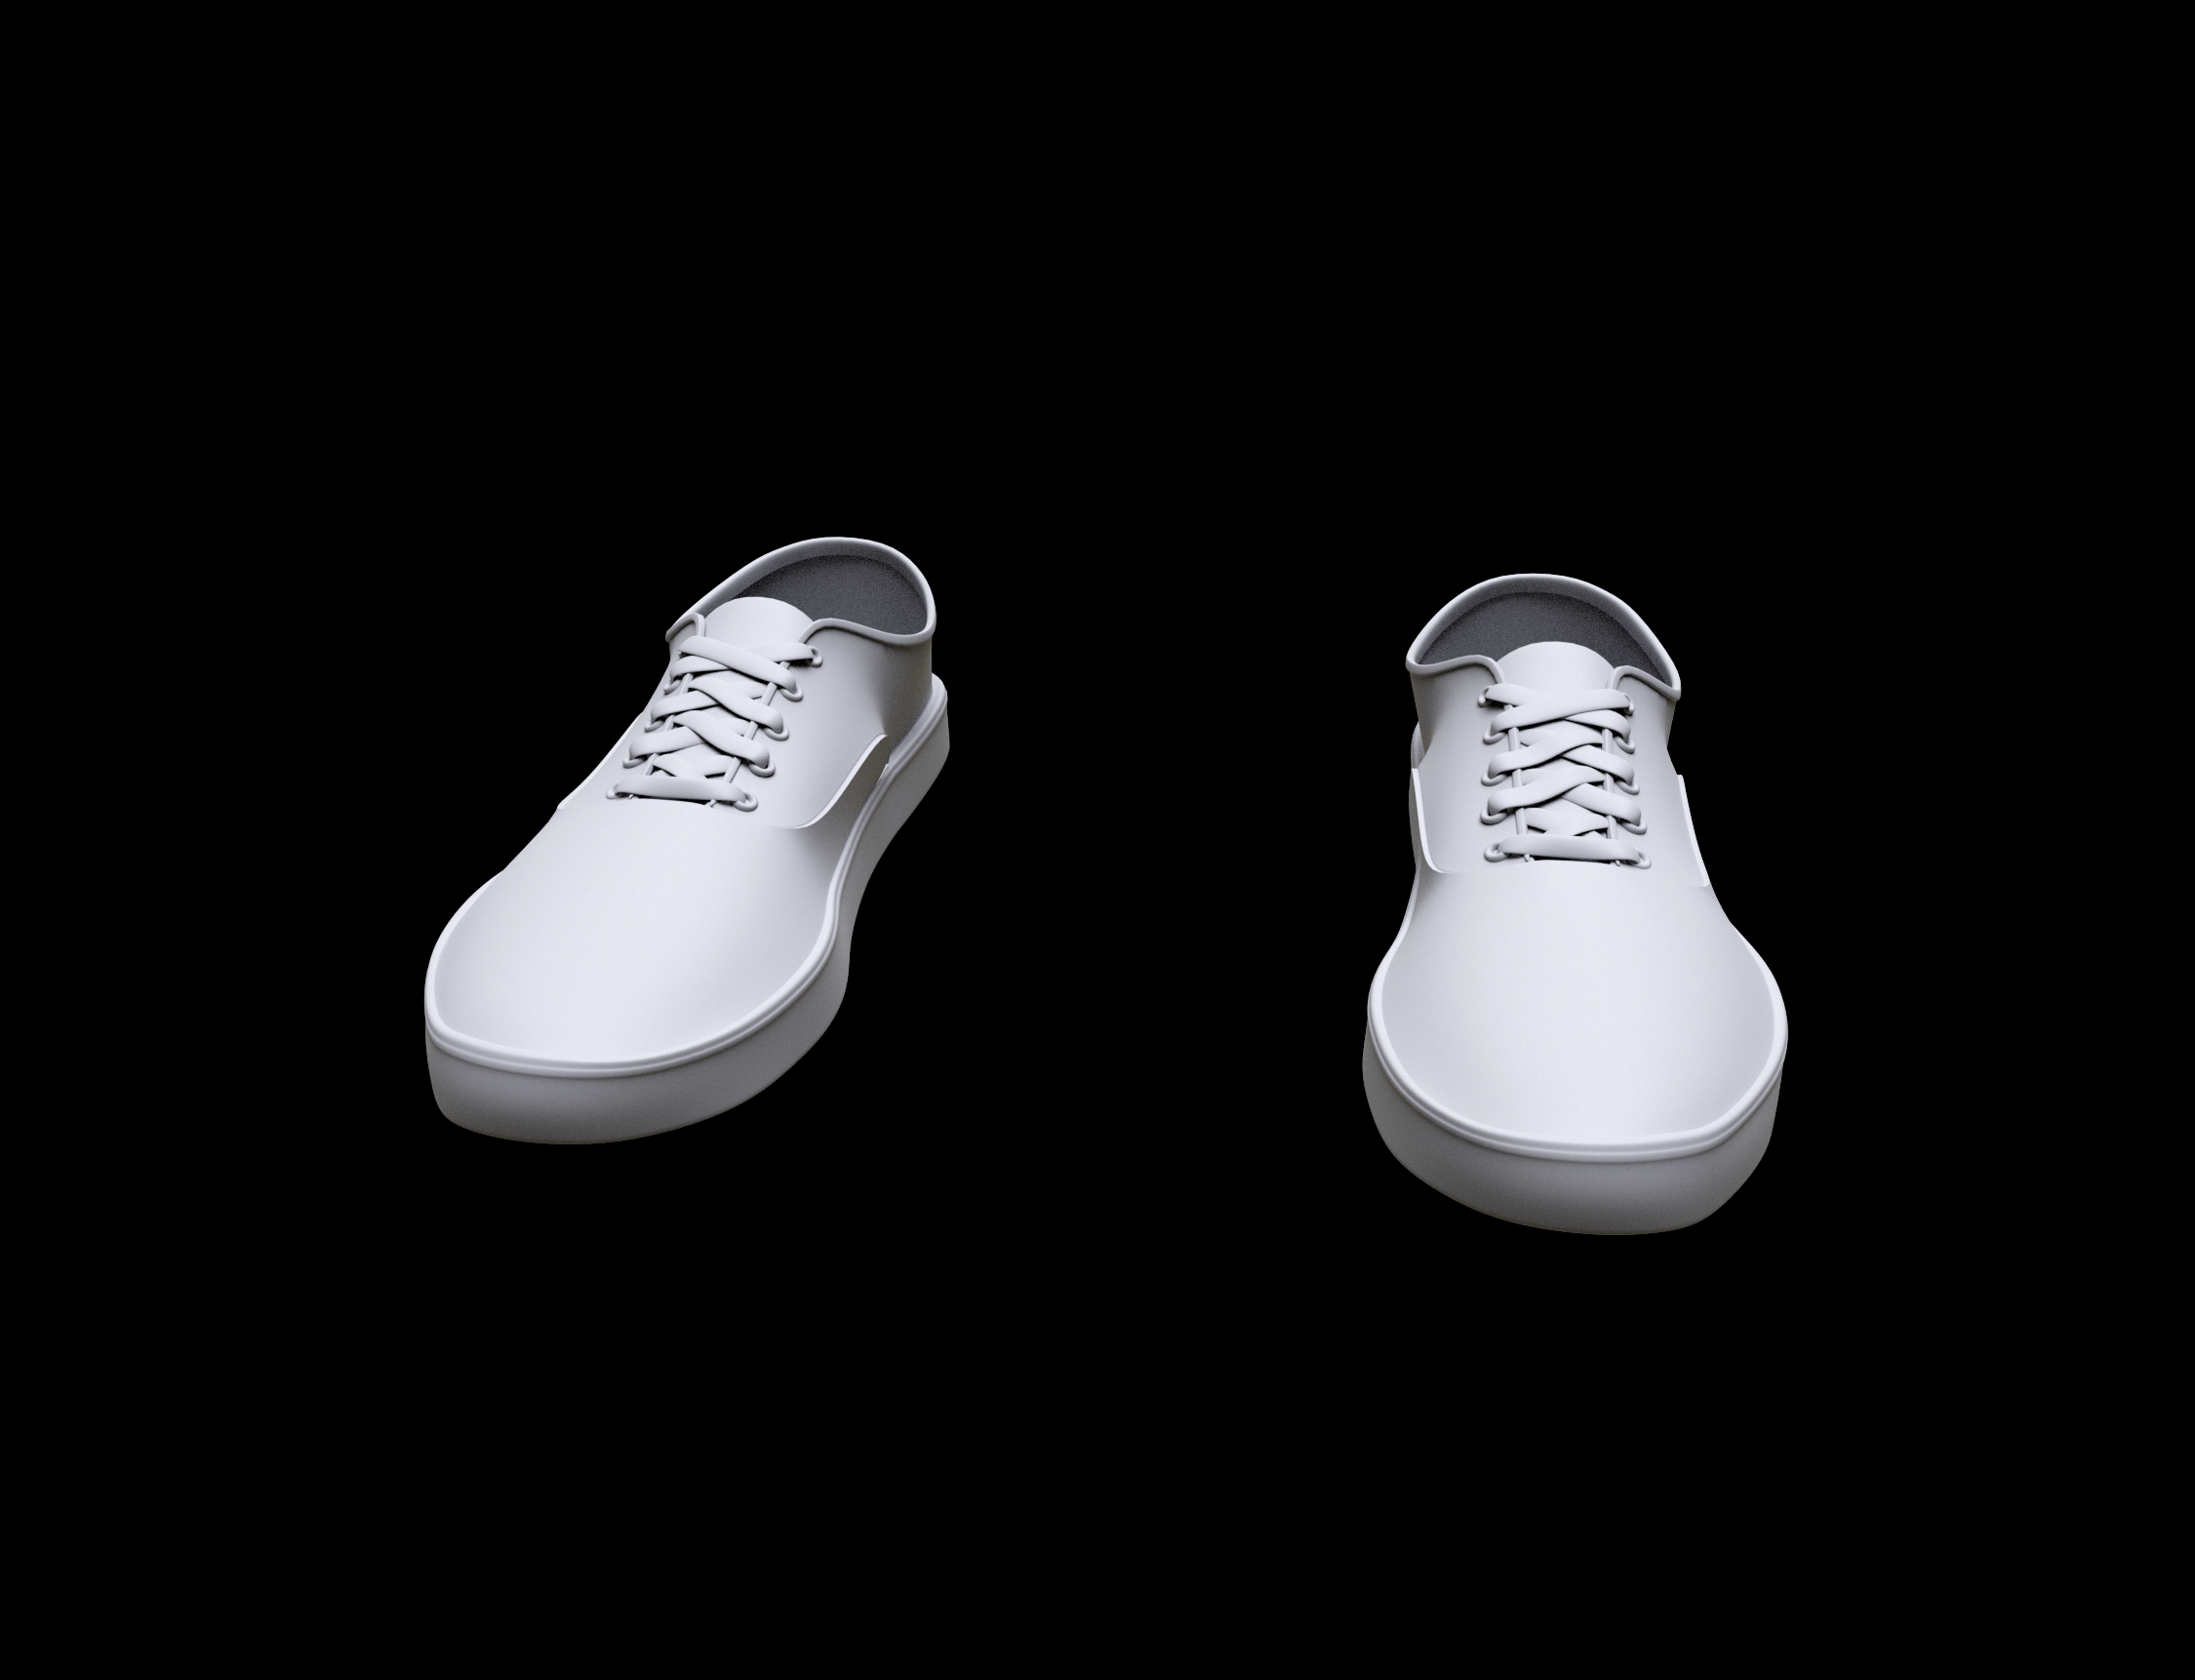
3D Shoes Geometry
For starter, I needed to find a 3D model of a pair of shoes that I could use to import into Substance Painter for texturing.
The image on the right is a screenshot of the pair of shoes geometry isolated from Houdini’s built-in Shelf-Tools, Simple Male. It’s a very simple shoe geometry, which makes it perfect for testing the Houdini to Substance workflow.

Houdini Built-in Mocap Character
Houdini has built-in character models available on its Shelf-Tools. Some of the character models are fully rigged meant for motion capture. Houdini also has other character models that come with pre-baked animations intended for the crowd solver and crowd simulations. I used the “Simple Male” Shelf-Tool that generates a fully rigged character model. I’m not interested in the rig. I’m only interested in the shoes that the 3D model comes with. So the next task was to isolate the shoe from the rest of the geometry.
Simple Male Geometry

Inside the Simple Male node from Houdini Shelf-Tool
The first challenge was to find the shoe geometry within the given Simple Male 3D model character that came with Houdini. You can’t just use the default Simple Male node that Houdini provides you, that’s just for display purposes and the bones are the actual collision geometry. We need the original mesh geometry that you see on display in the 3D viewport. If you dig into the “Simple Male” node you’ll find a massive network of nodes inside, but don’t get overwhelmed!

geo_skin node inside the Simple Male Houdini Shelf-Tool
Near the top of the network, on the right, there will be 3 nodes aligned like stairs one after each other. Look for the node that is named, “geo_skin”.
Now double click this node to go deeper into the network.

Inside the Simple Male node from Houdini Shelf-Tool
Next you’ll be seeing another massive network, but don’t worry I have another look here diagram on the right to point you in the right direction.
This one is a little easier to spot, it’s just the File node right at the top of the network. It’s bringing in an external 3D model that is saved somewhere on your hard drive located in the Houdini installation folder.
Anyways, we can get to the 3D model like this. Or you could try and find the 3D model in the Houdini installation folder and bring it in like that.
Or even copy this file node and just paste it into your own geometry node on the top Object level.
Any of the 3 methods mentioned works just fine, as long as you can access the character model.
Now for easier access, I add a null node here and name it, “OUT_3D_Model” so I can find it later. I use an Object Merge node to bring the character model to the Object level so I can get to it. You need to enable the Simple Male node for editing. Right click the Simple Male node and select “Allow for Editing”, if you want to use an Object Merge node to bring it out.
Isolate Shoes

We are only interested in the shoe geometry in the whole 3D model. Luckily isolating the shoes is super easy, because Houdini already had a very handy group setup for us. Drop down a split node, blast node, or any type of node you want to remove all other geometry except for the “shoe” group.
You’ll end up with just the shoe geometry, which is what we’re looking for.

In the next blog post, I’ll describe the process how I textured this shoe geometry in Substance Painter to make it look like the screenshot on the right.
Textured & Rendered in Substance Painter with Iray
The screenshot is rendered with Iray in Substance Painter.