Reallusion Character Creator Review
Reallusion Character Creator
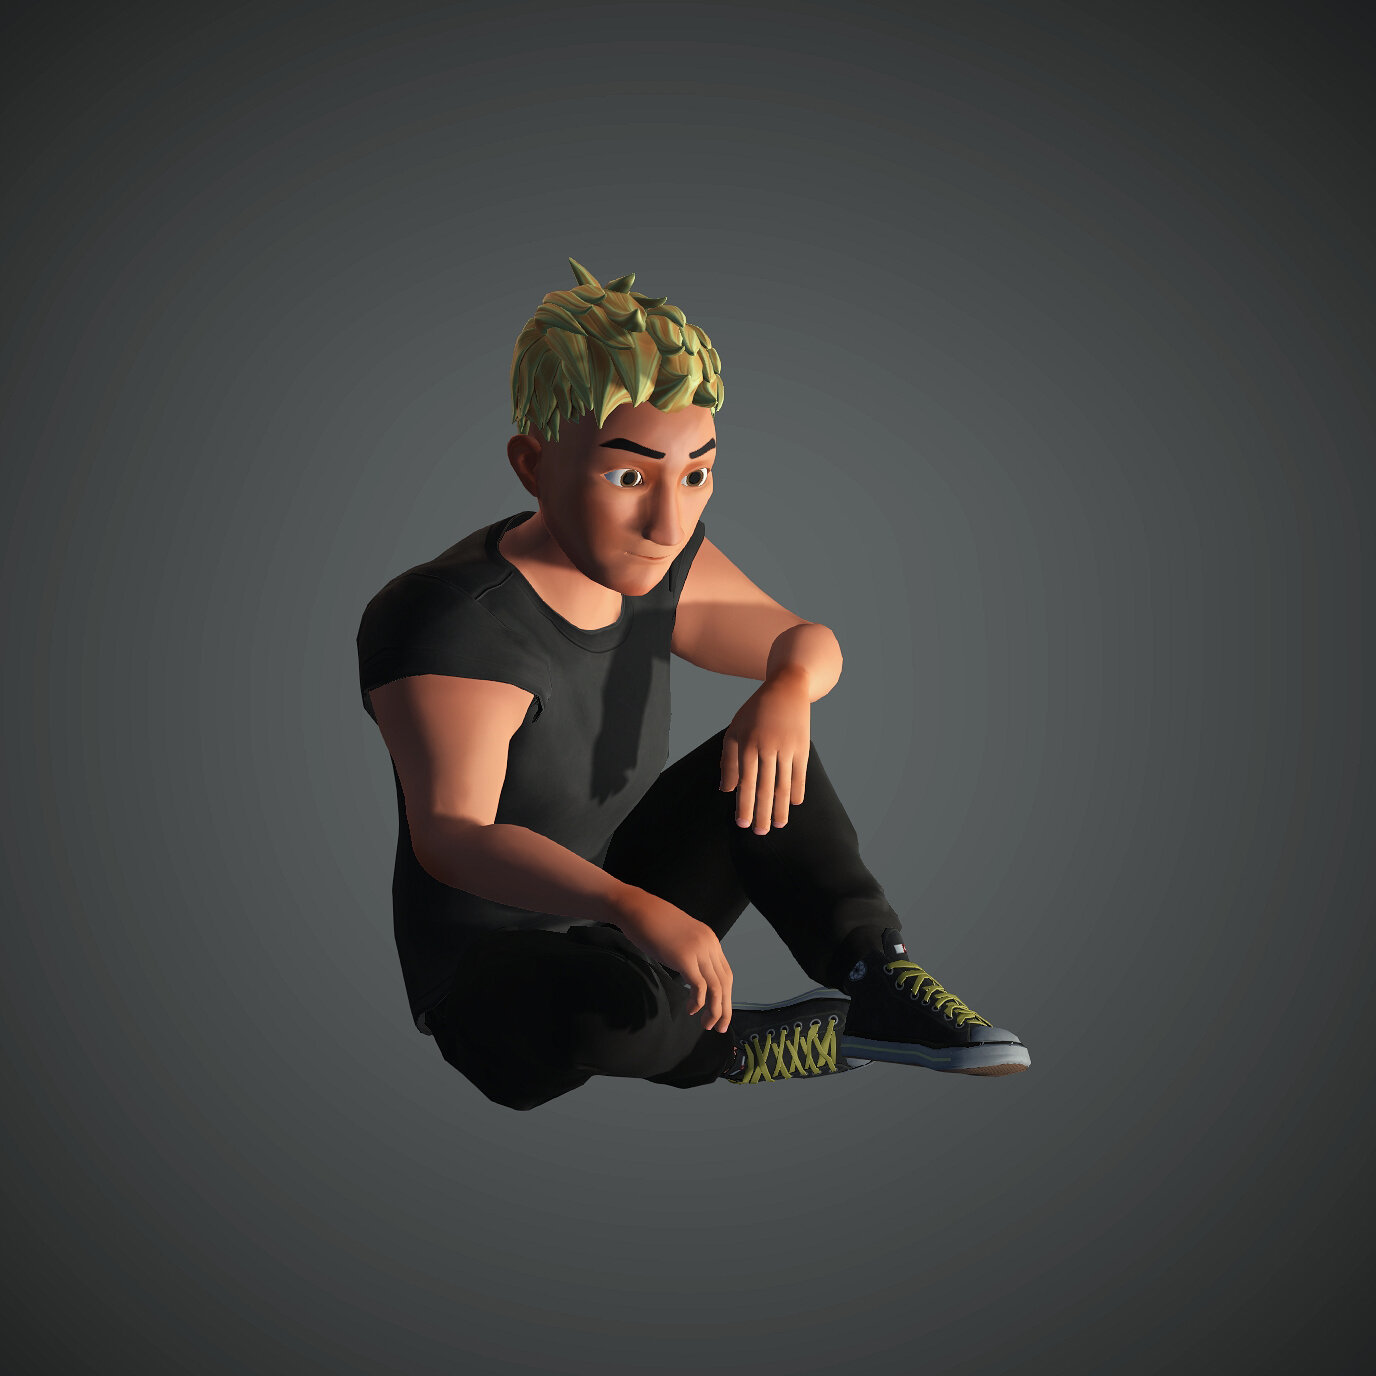
Toon Character created using Toon Design Bundle from Reallusion’s Content Store
I've used Reallusion’s Character Creator and I am VERY impressed at the amazing results that can be achieved with this software with just a few clicks. They have these morph sliders that lets you procedurally create unique characters that are fully rigged and comes with facial blends and are exportable to several third-party software applications, like Blender, Unreal Engine, Maya, and so on. Very easy to use and VERY realistic results with just a few clicks.

Adding more weight to the character using Character Creator’s basic morph sliders
Morph Sliders
Character Creator is based on morph sliders that change the look, physical traits, and hair style of your character. Morph slider can change a character’s appearance so it looks completely different. You can add a mustache, add more weight to the character, change the character’s height and just about anything else.

Changing a character’s facial appearance using Character Creator’s basic morph sliders
The software comes with default basic morphs that comes out of the box, but if you want more variety you’ll need to purchase it off Reallusion’s Content store.
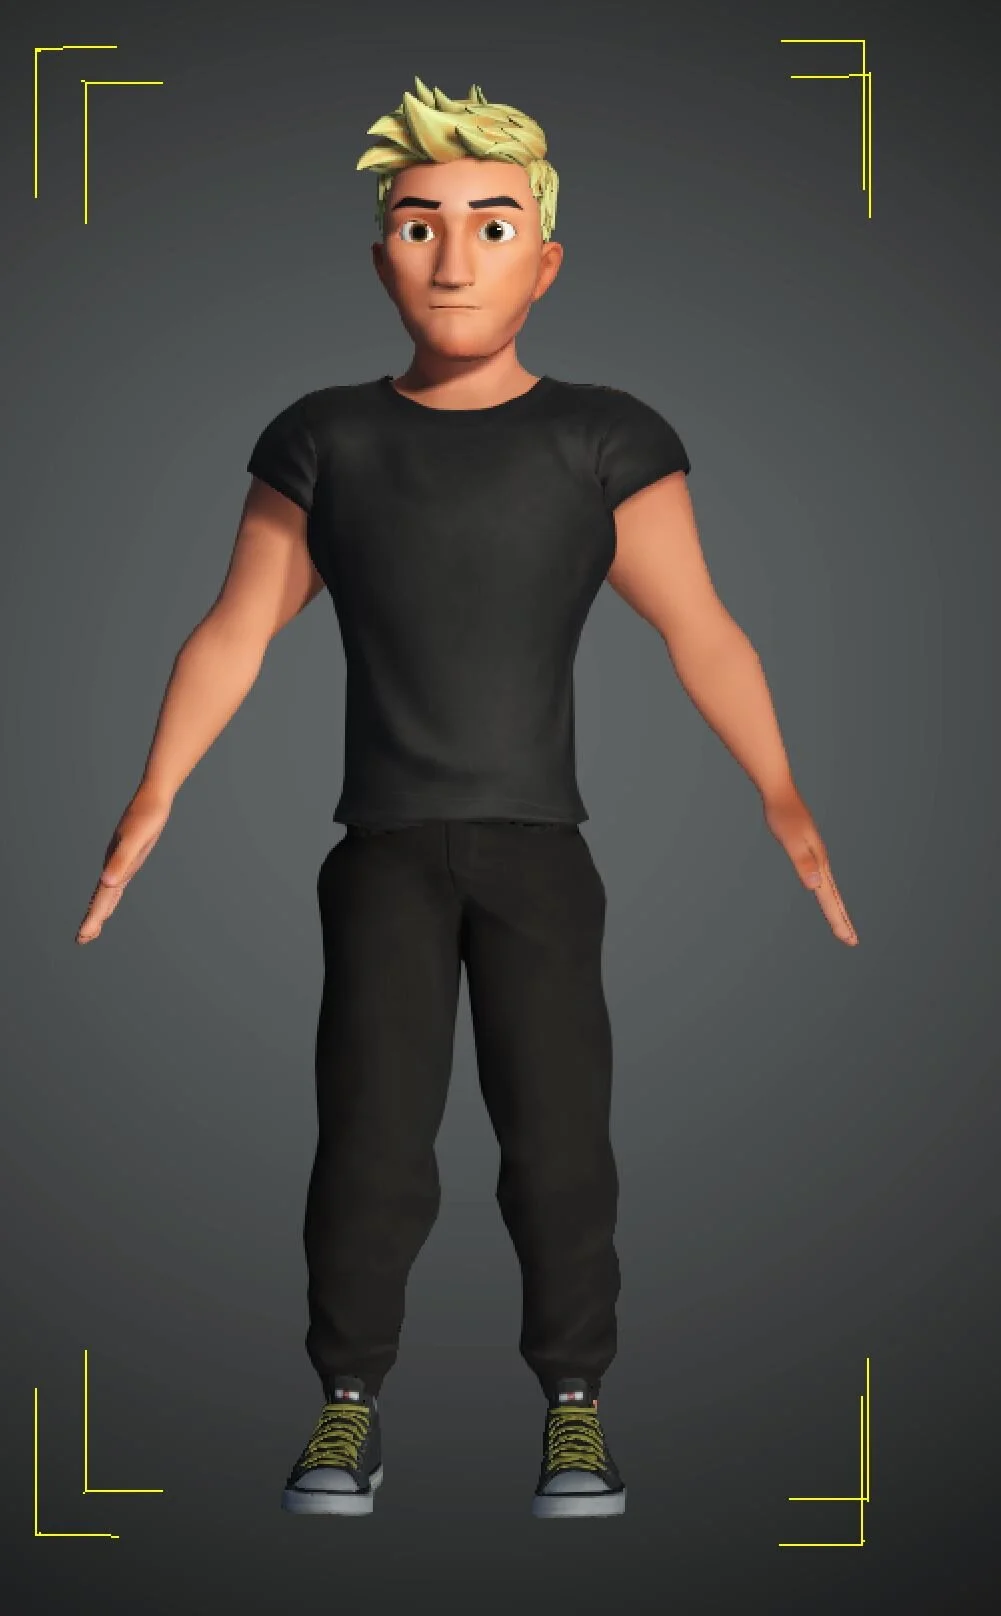
Toon Character generated in Character Creator 3 using the Toon Pack bought from Reallusion’s Content Store
Content Store
Reallusion’s Content store is like an asset store where users can purchase additional morphs to further diversify their character’s appearance. My favorite is the Toon Figures content item on the store. There is something you need to be aware of in the Content Store is that the Licensing is a little more complex than the average joe software.
Licenses: iContent vs iExport
There’s the iContent license and iExport license that you can purchase for each item. The morphs are exactly the same for both licenses, but the difference is in the export of the models. You cannot export characters with rigs and facial blends in FBX format IF the character was created using morphs without the iExport license. All basic morphs built-in the Character Creator application allow FBX exporting, but if you use morphs from the Content Store and you want to export in FBX format, you’ll need the iExport license.
I personally recommend purchasing the iExport license for all content from the Content Store, because it maximizes your workflow flexibility. I tend to use Blender to do all my rendering and animation work, so being able to exporting the character from Character Creator and into Blender is a must-have. That brings us to another topic about animation.

Changing the pose of a character using Character Creator 3 pose features
Animation
Character Creator only generates the character 3D model and excludes any animations. If you don’t have the iExport license, you’ll only be able to export the character in OBJ format and that will NOT include the rig and facial blends. This means you’ll need another way to rig the character.
Auto-Rig Pro Addon for Blender
Being able to have the character work well with Blender is very important for me and I found it worth commending how Reallusion made this so easy. Reallusion created a tutorial showing you exact steps on how to get your 3D character into Blender and use the Auto-Rig Pro addon (purchased separated) to enhance the rigs for your character. I mostly use Auto-Rig Pro to remap 3rd party animations that I purchase separately online and remap them to my characters. So being able to remap the animations to the characters generated by Character Creator is amazing to me! And so simple! I didn’t need to figure things out from scratch and forcibly make things work on my own, it just worked very nicely with by following Reallusion’s tutorial.