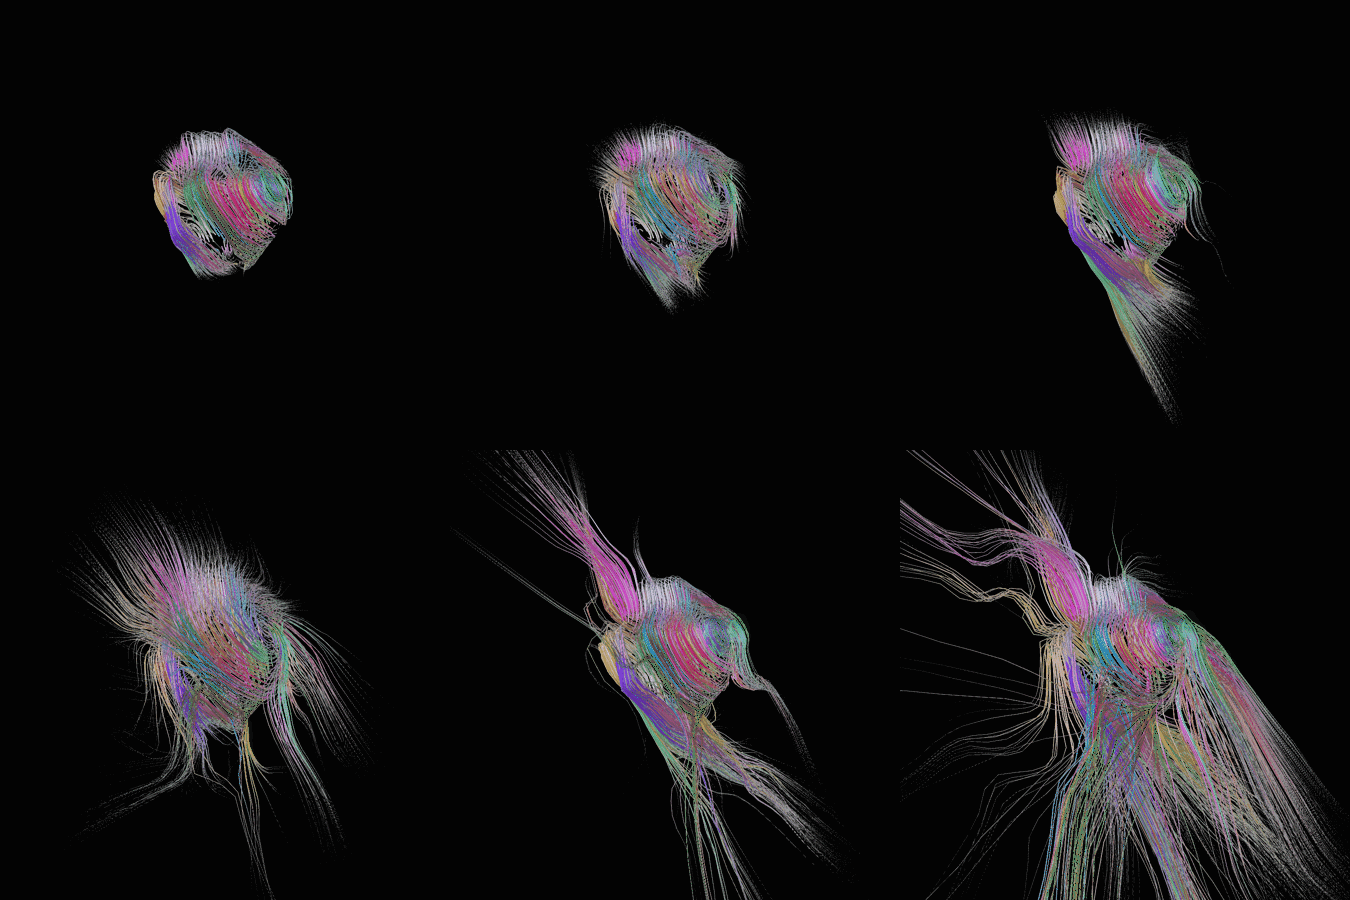
Vellum Hair Advected by Velocity Fields
Download HIP: HIP Vellum Hair advected by Velocity Field.zip
The zip files are password protected and exclusive to Bubblepins Members-Only. Please go to this Youtube Community Tab post link to get the password.
Click Here to join Bubblepins Membership here and gain access to tons of exclusive content! Including HIP files, HDA assets, and HQ version of Stream videos!
In this video, I demonstrate a simple Vellum Hair setup in Houdini and start moving the hair using Velocity Fields that will be created in Houdini using Curl Noise.
Houdini Particle Simulation driven by Curl Noise
The animation on the right displays particles being displaced by Curl Noise in a Particle Simulation in Houdini (POPNET). This can help us visualize the vector field that we’re creating before we apply it to the Vellum Hair to be advected.
Particle Simulation & Vector Fields
The particle simulation will generate velocity data for each particle and this velocity data will be used to generate the vector field that directs the vellum hair into different directions for advection.
What does this all mean?
Have you ever drove a car or started to do something while someone in the back give you instructions?
Velocity Markers on each Particle in Houdini
Go there! Not that way!
That way!
Turn left, turn right!
Go straight! Where are you going?
Does that sound familiar? That’s exactly what vector fields do. They tell other stuff where to go, when to go, and how to go. Let’s look at the animation on the right illustrating the velocity directions for each particle.
Particle SIM in Houdini with Velocity mapped to different colors
Now let’s look at the particles with color! I mapped the velocity to different colors for a better illustration.
Vector Field Advecting Vellum Hair in Houdini
Advecting Vellum Hair
Using the above velocity data derived from the Particle Simulation, to drive the animation for Vellum Hair. This tells the Vellum Hair where to go with a bunch of directions being pumped from the vector field data which is our velocity data.
Houdini Vellum Hair advected by Velocity Field
Using Curl Noise to Create the Velocity Data
The animation on the right is a hair ball created using Vellum Hair guide nodes and I’ve created a more advanced Velocity Field using multiple SDF spheres fed into the Curl Noise. This part of the Curl Noise isn’t demonstrated in the video, but will be included in the near future stream video that will cover Vellum Hair in more detail.
Adding a Twist to the Curl Noise
Advecting #Vellum Hair in #Houdini https://t.co/160NJoXwXm#sidefx #Animations #3dart #indiegamedev #indiedev #gameart #gamedevelopment #gamedev #indiegame #gametools #animation3d #cg #CGI #VFX #animation #3dartist #ProceduralArt #goProcedural #procedural pic.twitter.com/KjdnHiUkMD
— Blue Bursting Bubble (@BubblePins) June 16, 2021
I used a sopsolver to break up the noise even more, because I realized that after the vector field fully formed, the Vellum Hair would follow it closely so nothing really happens after the vector field fully forms. The Hair just stays in the fully formed state.
As shown on the right, the animation within the tweet, where Vellum Hair is being advected by a vector field that was created from the particles being displayed in the same animation.
Breaking Up the Curl Noise
I decided to break up the velocity by killing the velocity in a wave form. All particles that overlap with a box going up and down will have their velocity killed temporarily until the box passes by onto the next overlapping group of particles.
This resulted in what you see on the animation posted on the right.
Rendering #Houdini Hair / Fur with Toon Shaders using Geo Strands definitely the way to go#dailyrender #3dartist #3dart #sidefx #3d #vfx #cgi #3danimation #cgi #render #vfx #3d #gamedevelopment #indiedev #indiegame #gametools #3dmodel #toonshader #blender pic.twitter.com/c6u8x8L1b3
— Blue Bursting Bubble (@BubblePins) January 6, 2020
My Previous Attempts
I converted the Vellum Hair into polygons and threw on a toon shader to create a more cartoonish style look. This worked very nicely, however the scene was very heavy due to the large number of polygon count.
So it's not the lines causing the flickering, the hair cards generated for the toon shader isn't consistent#dailyrender #3dartist #3dart #sidefx #redshift #vfx #cgi #3danimation #cgi #render #vfx #3d #gamedevelopment #indiedev #indiegame #gametools #3dmodel #toonshader #Houdini pic.twitter.com/YZj0ANt7fC
— Blue Bursting Bubble (@BubblePins) January 6, 2020
At first I tried using Houdini’s Hair Card Generator to create triangle 3D planes for every hair strand. And the theory is that you throw a texture on the plane and when you render the scene it would generate a furry image.


