3D Printing Functional Tools
Is it possible to use 3D printers to fabricate measurement tools?
It is! With some obstacles. I think the main challenge to printing simple measurement tools like rulers is the time it takes to 3D print them. 3D printing is slow! It is probably faster for you to get into your car and drive out to a neigh-by dollar store and just pick one up.
So, Why 3D Print tools at all?
Innovation, reinvent, or even customize may be one of the biggest reasons to why. Yes its possible to recreate an exact ruler used for measuring straight lines just like the ones at the dollar store, but what if you wanted to create a ruler that could measure the angles of complex objects? What if you wanted to create a custom ruler that would be more user-friendly for accessibility purposes? A ruler usually requires two hands to make it easy to work, one hand holds the ruler in place and the other hand draws the line. What if you create one that would only require one hand to operate?
3D Printing Techniques
The main concern would be precision and accuracy. Can 3D printers print the same model with exact measurements every time? The answer is YES, with precision offset +/- range of 1mm, through my experiments. However this is the limitation of my setup, because my printer has 0.4mm nozzle, which is the standard nozzle size 3D printers usually come packaged with.
Some of the challenges I faced were offsetting the model design for when the plastic expands when printed, the PLA material expands a little, but this was easily combated with some slicer settings. When you 3D print a model on a FDM (fused deposition material) machine it extrudes the plastic from a nozzle, very similar to decorating a cake with icing. You squeeze the icing from the plunger, which is very much the same as a 3D printer.
3D Printer Parameters (a.k.a. Slicer Settings)
You design a model and send it to a slicer program, which converts your 3D model into gcode commands that the machine can understand. Usually the slicer, will tell the machine to draw an outline of your model and then like a coloring book, it will fill it in the holes, commonly referred as “infill”.

Simplify3D infill outline parameters
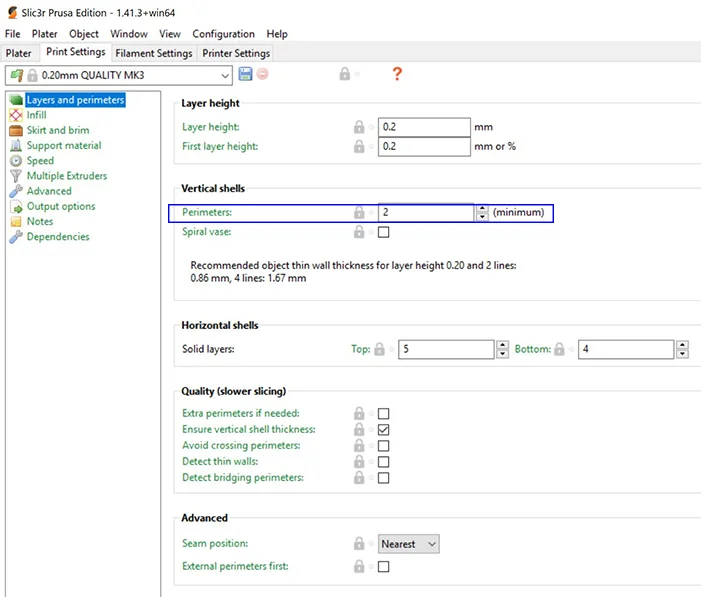
Slic3r infill outline perimeter parameters
You may choose the number of outlines it will draw, the more, the stronger the physical printed model will be. However the more outlines made, it also increases the chances of inaccuracy, because the PLA expands a little when printed and when printing the 2nd outline, it actually pushes the first outline a little bit making the outline thicker. You can use a small nozzle size to reduce this inaccuracy, if you require more outlines.
You can also choose the order in which the outline is printed. For example, it can be printed from “Inside-Out” or “Outside-In”. I usually prefer “Inside-Out” to product nice exterior look.
I prefer to keep the outline perimeter shells to 2 when using a 0.4mm nozzle size. I find that the precision comes to be very close almost within +/- 1mm, and sometimes dead on depending on which brand of plastic filament in use.